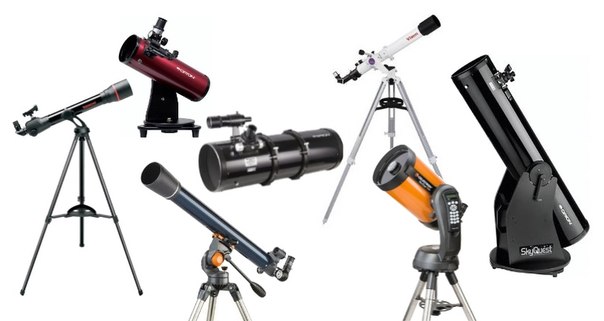
Dear newcomers who have just bought a telescope! Often I hear complaints about the muddy picture and “I can’t see anything !!!!!11!!!”
A telescope, even a large one, is not a tool that you randomly point at any point in the night sky and see the colorful nebulae “as with Hubble”. Telescope must be able to use and, I hope, the following my advice will help you quickly enjoy the observations and dive headlong into the world of space.
1. Decide on a set of eyepieces. Do not immediately set the maximum magnification – always start observing any object with the minimum magnification. A novice usually wants to try, and what will happen to the 525x when observed in a 70mm telescope. You don’t need to go far for an example – a good Celestron 70 EQ telescope comes with a 20mm eyepiece (35x), 4mm eyepiece (175x) and 3x Barlow (with a 4mm eyepiece, 525x is obtained). Well, I can still understand 175x on a 70mm refractor (observations of the Moon, for example), but the 525x is generally a useless increase.

By the way, usually the complete Barlow does not shine with optical quality and I can spoil the picture pretty much, so they can be immediately removed into the box (but not thrown out – if you get Barlow’s high-quality lens, you can pry the lens out of the old Barlow and use the body as the booster bushing).
WHAT TO DO? Pick a reasonable magnification. Remember – for different objects apply a different magnification. If the kit does not have the necessary eyepieces – buy more. By choice of eyepieces, I wrote a separate article: https://www.star-hunter.ru/eyepieces/ . Usually you need a viewing eyepiece, an eyepiece for medium magnifications and a planetary eyepiece. A good Barlow lens will also not be superfluous, but you can do without it if you correctly select all the necessary eyepieces.. It is not necessary to immediately take expensive eyepieces for over 9000 dollars – the usual inexpensive plossl will also be a good show.
2. Do not watch through the window glass! No way, never in any way! Do you think ordinary window glass has an optical quality?
WHAT TO DO? Open a window or better watch from the yard / from a dark place. And window observations are still fraught with the fact that the warm air from the room begins to go out and degrade the image. With the balcony, too, not everything is sweet, heat flows can rise from the house and still spoil the picture.
3. If you have a Newton’s telescope – ALWAYS CHECK THE ALIGNMENT. This is not a wish, this is not a request, this is a REQUIREMENT. This is especially true of high-aperture telescopes (f 4 … f 6). Do not be afraid of alignment, there is nothing super heavy in it. Expensive factory collimator DOES NOT NEED – a fairly light-colored jar of film or kinder.
For the time being, owners of refractors can rest, because in most budget models of refractors adjustment is not provided, and if it is provided, then it’s absolutely not necessary to climb into it without the necessary knowledge. Adjusting the mirror-lens models is generally a separate conversation.
4. Take out the telescope at least half an hour before the observations – the optics should cool down! An uncooled optics will produce, instead of point stars and planets, blur. Newton owners can spend this time with benefit – to lay out the optics By the way, there is a myth that thermal stabilization is not needed to refractors – figs there! Both refractors, and reflectors, and catadioptrics need cooling down (especially the last ones)! In order to speed up this process, the owners of Newtons can stick an ordinary computer cooler on the main mirror (it should be BOTTLE on the mirror). So time thermostabilisation can significantly reduce. Small telescopes with a diameter of up to 114mm cool quickly enough and without additional cooling.
5. Another classic situation. “I bought a telescope, I observe in the city, galaxies nebulae are not visible. 150mm telescope, Sky-Watcher BKP150750, Probably the diameter is too small? ”.
Well, I can only answer one thing – take a telescope and go to a dark place! For in the city with illumination, it’s impossible to really look at any nebulae, nor galaxies, or globular clusters!
If there is a moon in the sky, you can also immediately score on the observation of deepsky objects. Watch the moon, the planets, the double stars.
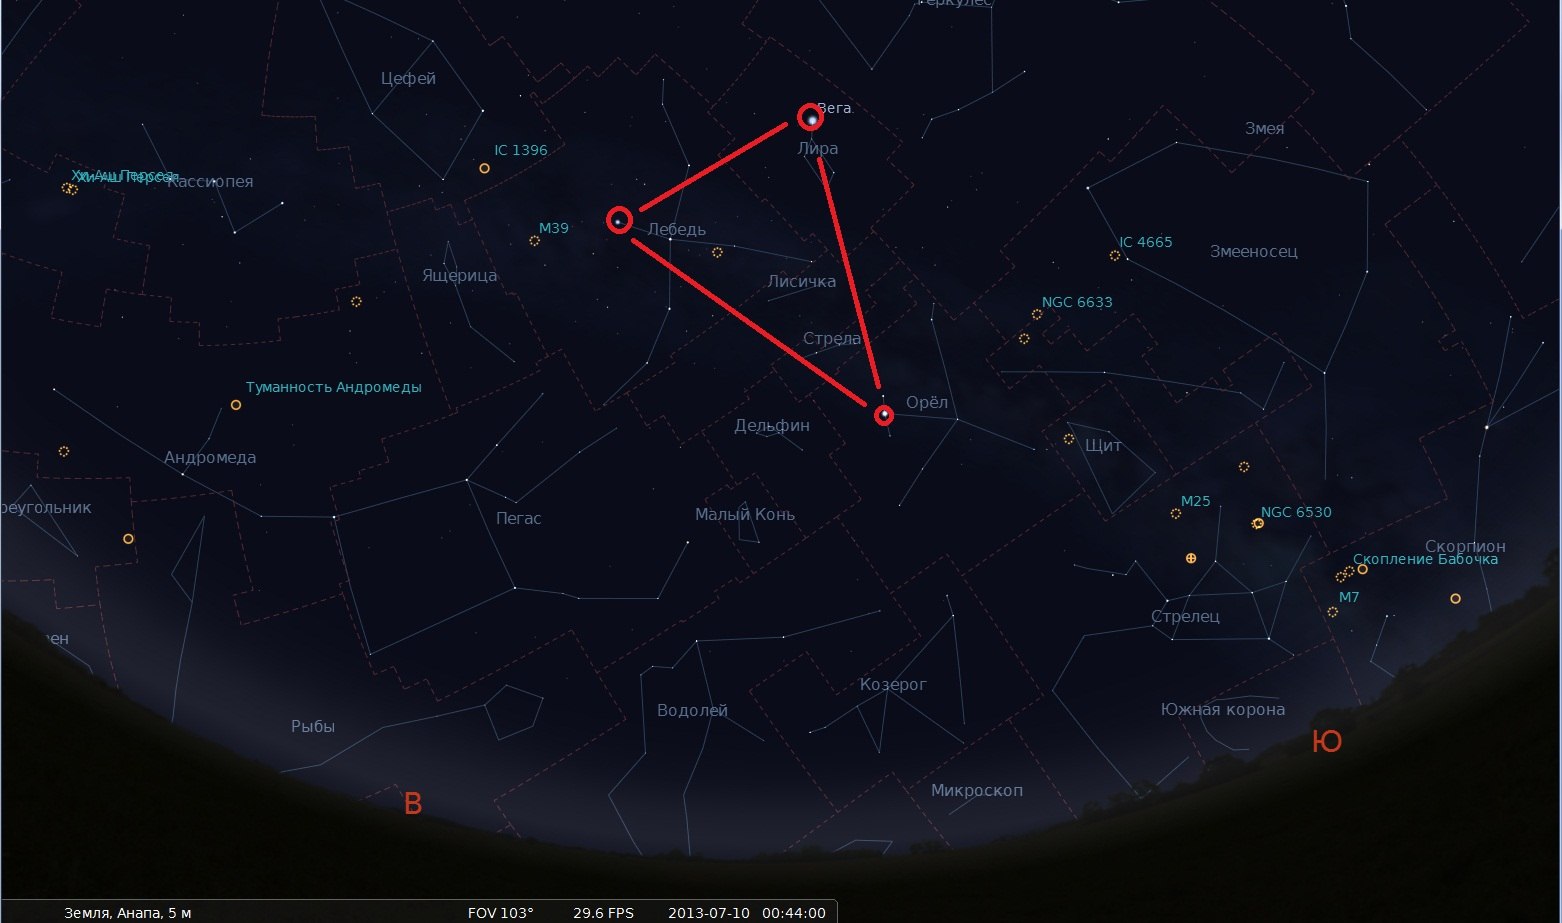
Even in the 50-60mm binoculars in the dark sky, you can see almost the entire Messier catalog! Have a car? Wonderful! On a new moon, a telescope was immersed and left somewhere far away, preferably south of the city.
Narrow-band filters — for example, OIII — may provide some assistance with a number of observed objects, but this is not a panacea. The LPR, CLS and UHC-S filters are quite good – they noticeably drown out the illumination, however, the stars are also noticeably drowned out.
ATTENTION! MANDATORY HEAT DRESS, EVEN SUMMER! Being in the cold without movement, it is possible to freeze it so that you remember for the rest of your life! EVEN SUMMER I MUST TAKE YOUR CAP! ON TRAVEL WILL NOT EXTRA THERMOS WITH TEA! TAKE CARE OF YOURSELF!
6. To see weak objects, eyes need to get used to the dark. If you decide to hunt for galaxies, nebulae and clusters – cut down the whole world, arm yourself with a weak red flashlight and only then watch. When observing weak objects, learn to observe “lateral vision” – that is, look not at the object itself, but slightly sideways – for example, at a nearby star. For very weak objects, a slight rocking of the telescope tube works well; when shifted, the dim object becomes more noticeable. Who uses star map on phones – set the backlight to a minimum, in good applications there is a night mode of work when the screen itself turns red. Conventional flashlights do not turn on. Full adaptation to the dark lasts about 30-40 minutes, but after 10 minutes you will see much more than before. If you are planning to observe bright objects (for example, planets), watch them last.
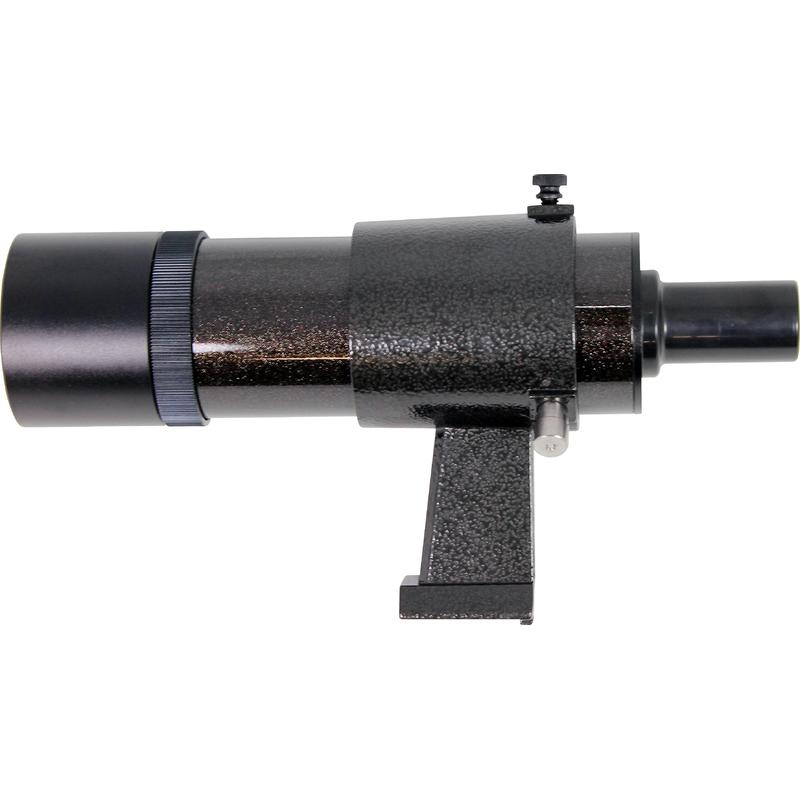
7. Buy a good finder – 6×30 or 9×50. As a rule, complete searchers such as 5×24 or Red Dot cannot provide good visibility of the desired object. Well, of course, do not forget to set it up ?
8. Study the starry sky. Even if you do not have a telescope, you can already proceed! Install the planetarium program on the computer tablet phone – now they are full!
https://www.star-hunter.ru/software/
9. Fans of lunar-planetary observations – even if you made the alignment of the telescope and it is cool enough, the quality of the image can also rest against the earth’s atmosphere. Depending on the state of the atmosphere, the view of the planets in a telescope with good optics can differ from “sausage and soap” to “as sharp as a razor cut out”. Select the correct magnification – for observing the planets, the magnifications from 1.5 * D to 2 * D are good, where D is the objective diameter in mm. That is, for a 100mm telescope, the optimal planetary magnification lies in the range from 150 to 200x. On the moon with a calm atmosphere, you can put a little more. It is better to observe the planets (and indeed any space objects) when they are at their maximum height above the horizon, that is, when they pass over the southern part of the sky.
Recommendations: watch more often. Catch a calm atmosphere. As a rule, if strong winds blow, then “the so-called siing (from the word seeing)” cannot be expected to calm the atmosphere, but a soapy picture can also be calm.
For those who have not bought a telescope, I recommend carefully reading the following articles:
Assistant in choosing a telescope
Choosing a telescope. How to choose a telescope
Black list of telescopes
Have questions? Ask in comment!
Successful observations!
