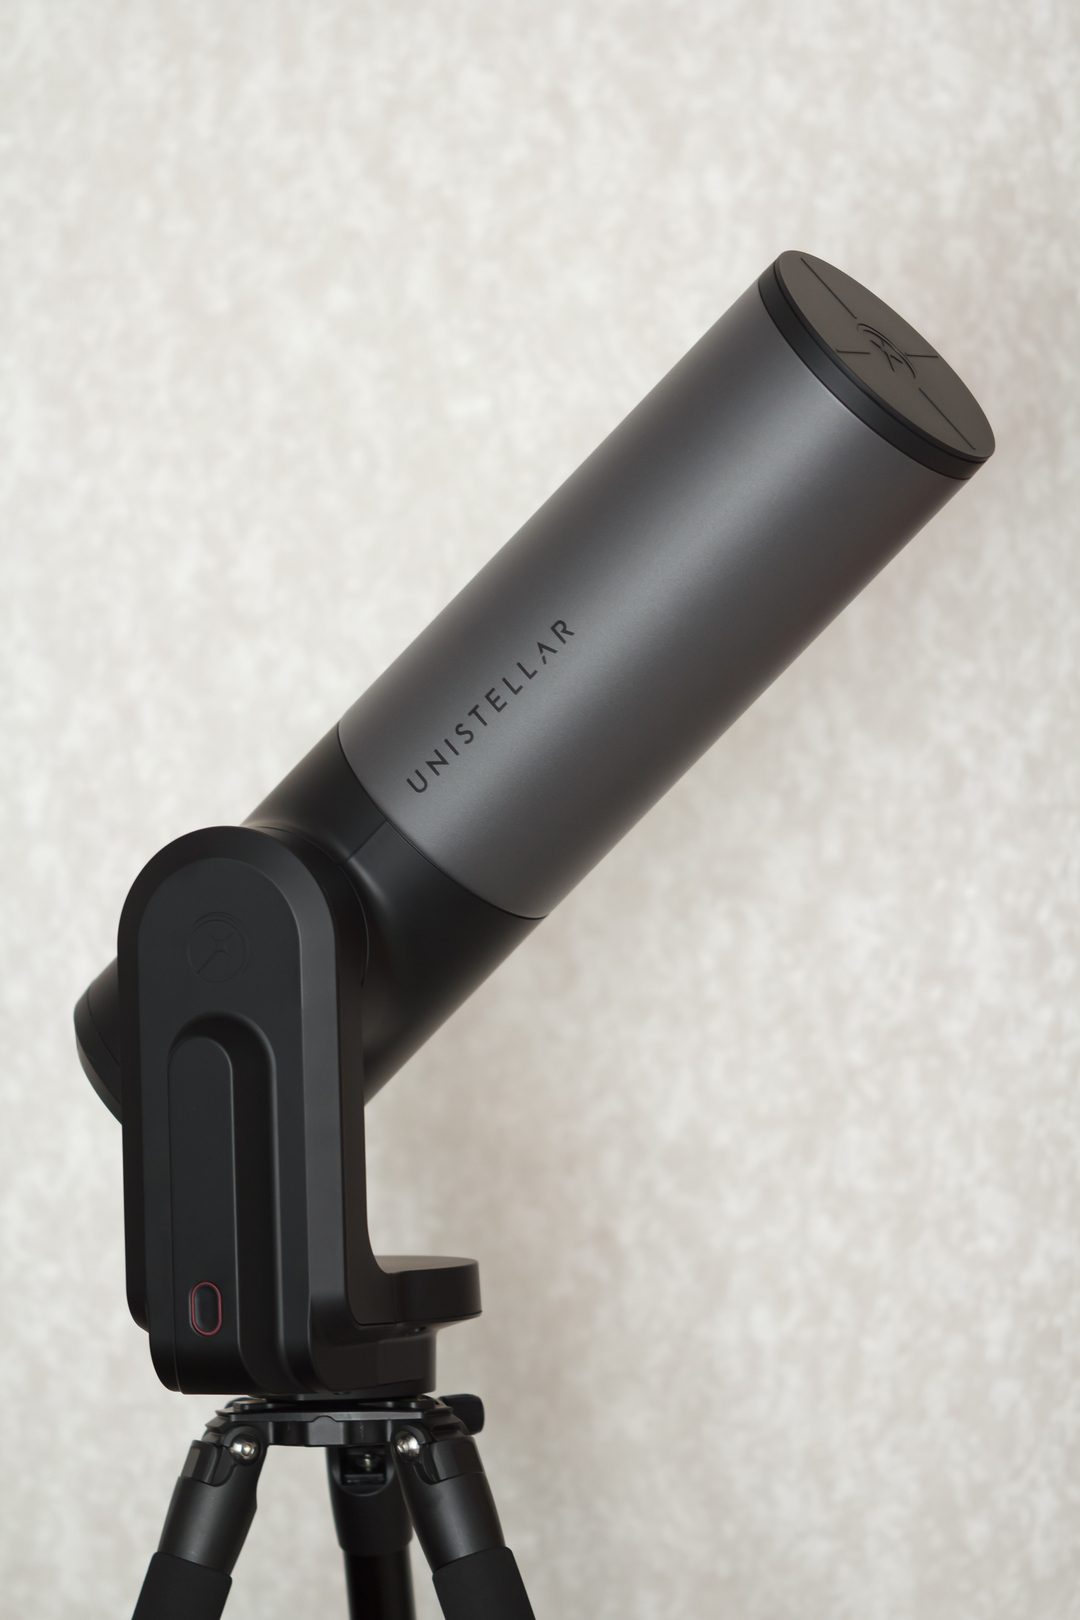
An unusual Unistellar eVscope eQuinox telescope came to my review. Its peculiarity lies in the fact that it is a fully digital telescope with a built-in camera. The user is invited to observe the image of space objects on the screen of a mobile device (smartphone or tablet). At the same time, the telescope independently adds images of objects in real time, so that after a few tens of seconds, signal accumulation and noise reduction become noticeable. There is even such a type of astronomical observations – Electronic Assisted Astronomy (EAA, or “electronic assisted astronomy”, or “astronomy using electronics”). The Unistellar eVscope eQuinox is also interesting in that it is not at all necessary to know the bright stars and constellations for the initial reference in the sky – the telescope itself will take pictures of several areas of the night sky, detect the captured stars and then it will already understand in which direction it is directed and where to look for other objects. Advanced astrophotographers probably know this feature called “plate solving”. The telescope does not have an eyepiece, but the older version of the eVscope 2 has an OLED viewfinder, like on video cameras or mirrorless cameras, replacing the traditional eyepiece. I want to warn you right away that a smartphone or tablet on the Android or iOS platform is required to control the telescope.
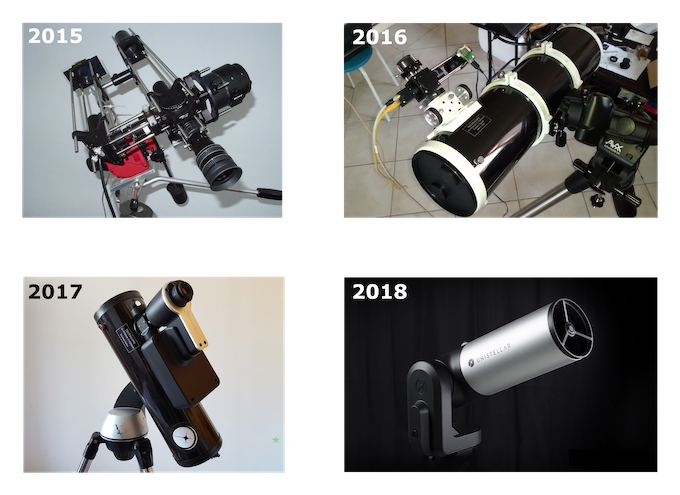
The development of this telescope was carried out for more than three years and went from several prototypes to a fully completed commercial device. The developers collected money for the development of the project on the well-known Kickstarter site.
Also, owners of Unistellar telescopes are invited to join the Citizen Science social network, conduct joint observations with other amateurs, and even work in collaboration with professional astronomers. The idea is very interesting. Well, let’s take a closer look at the telescope.
Technical specs:
| Optical Magnification | 50x (Note by the author of the review. The magnification of a telescope is the ratio of the focal length of the telescope to the focal length of the eyepiece, or the ratio of the entrance pupil to the exit pupil. Since this telescope has neither an eyepiece nor an exit pupil, the very concept of “optical magnification” is incorrect) |
| Digital Magnification | up to 400x (150x recommended maximum) |
| Max Magnitude | <16 in medium quality night sky |
| Resolving power | 1.72 arcsecond |
| Field of view | 27 x 37 угловых минут |
| Mirror diameter | 114 mm (from another info – 112 mm) |
| Focal length | 450 mm |
| Mount | Motorized Alt-Az Mount with extreme tracking accuracy thanks to Automated Celestial Tracking with Feedback |
| Weight | 9kg (19.8lbs) including tripod |
| Sensor model | Sony Exmor with NIR technology IMX 224 |
| Storage capacity | 64GB |
| Image resolution (size of image saved using Enhanced Vision mode) | 4.9 Mpx (Note of the author of the review: the physical resolution of the matrix is 1.3 MP, 1280×960). |
The telescope also has a built-in battery with a capacity of 15,000 mAh.
The range of Wi-Fi is 50 meters in the line of sight.
The frequency and bandwidth of Wi-Fi is 2.4 GHz, 72.2 Mbps.
Temperature range recommended by the manufacturer:
storage: -15°C (5°F) -> +60°C (140°F) (recharge your battery regularly if storage > 2 months)
storage and recharge: 10°C (50°F) -> +40°C (104°F)
observation and recharge: 10°C (50°F)-> +40°C (104°F)
observation: -10°C (14°F) -> +40°C (104°F)
Packaging, equipment, appearance
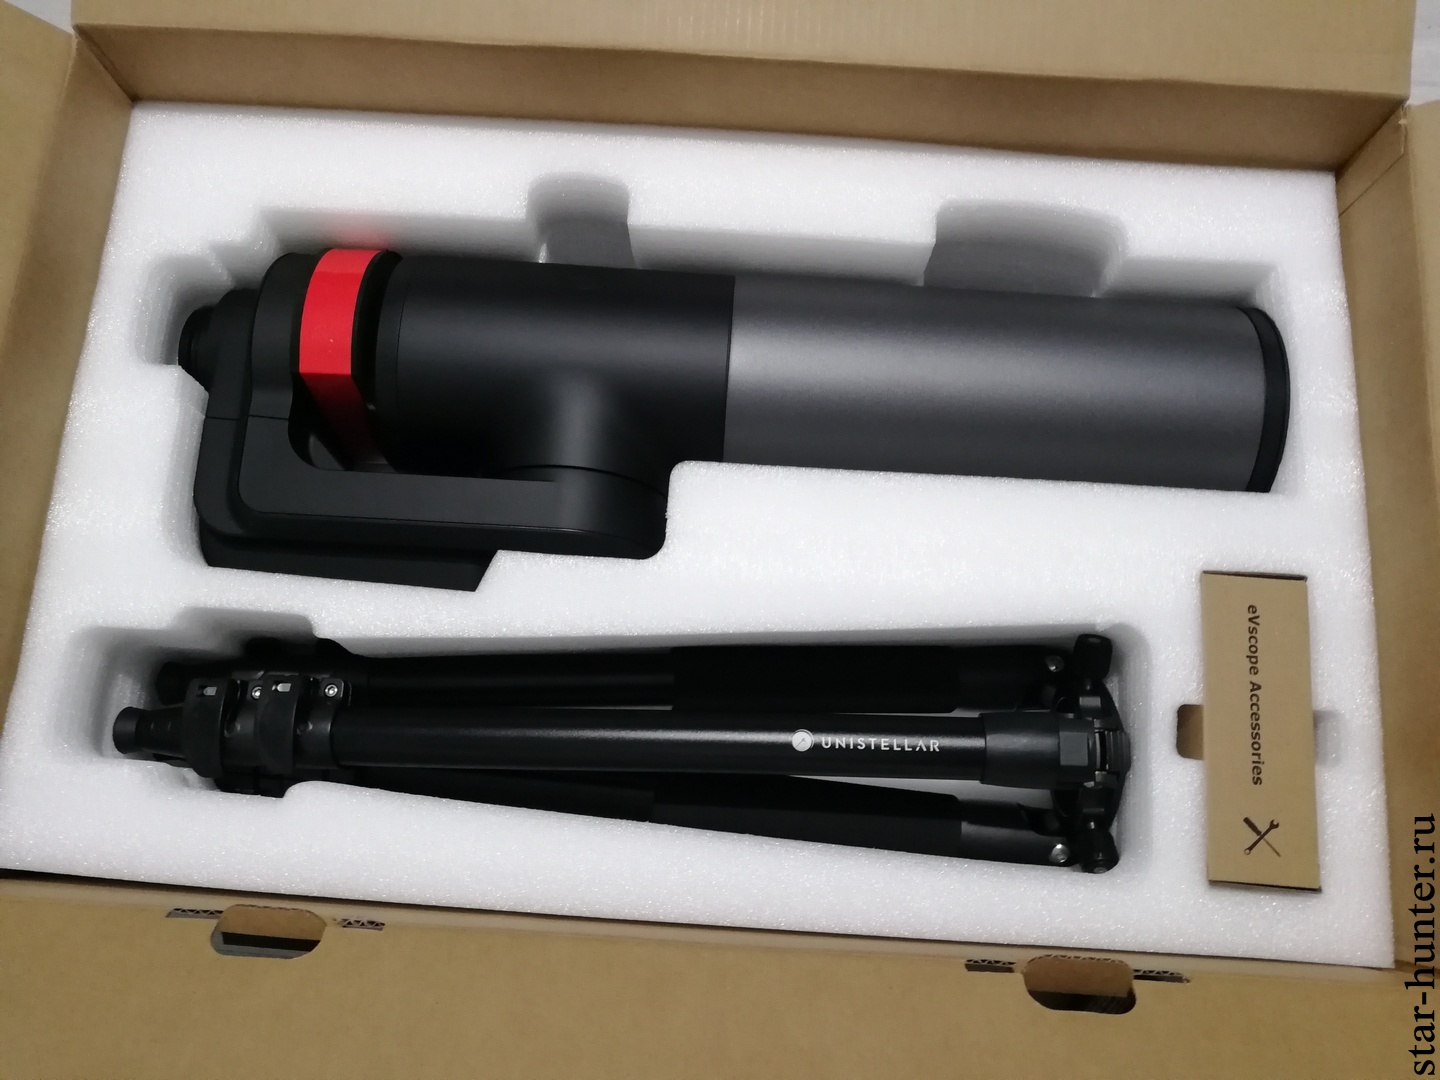
The telescope is supplied in a large cardboard box weighing 13.42 kg and with size 77 x 48 x 29 cm.

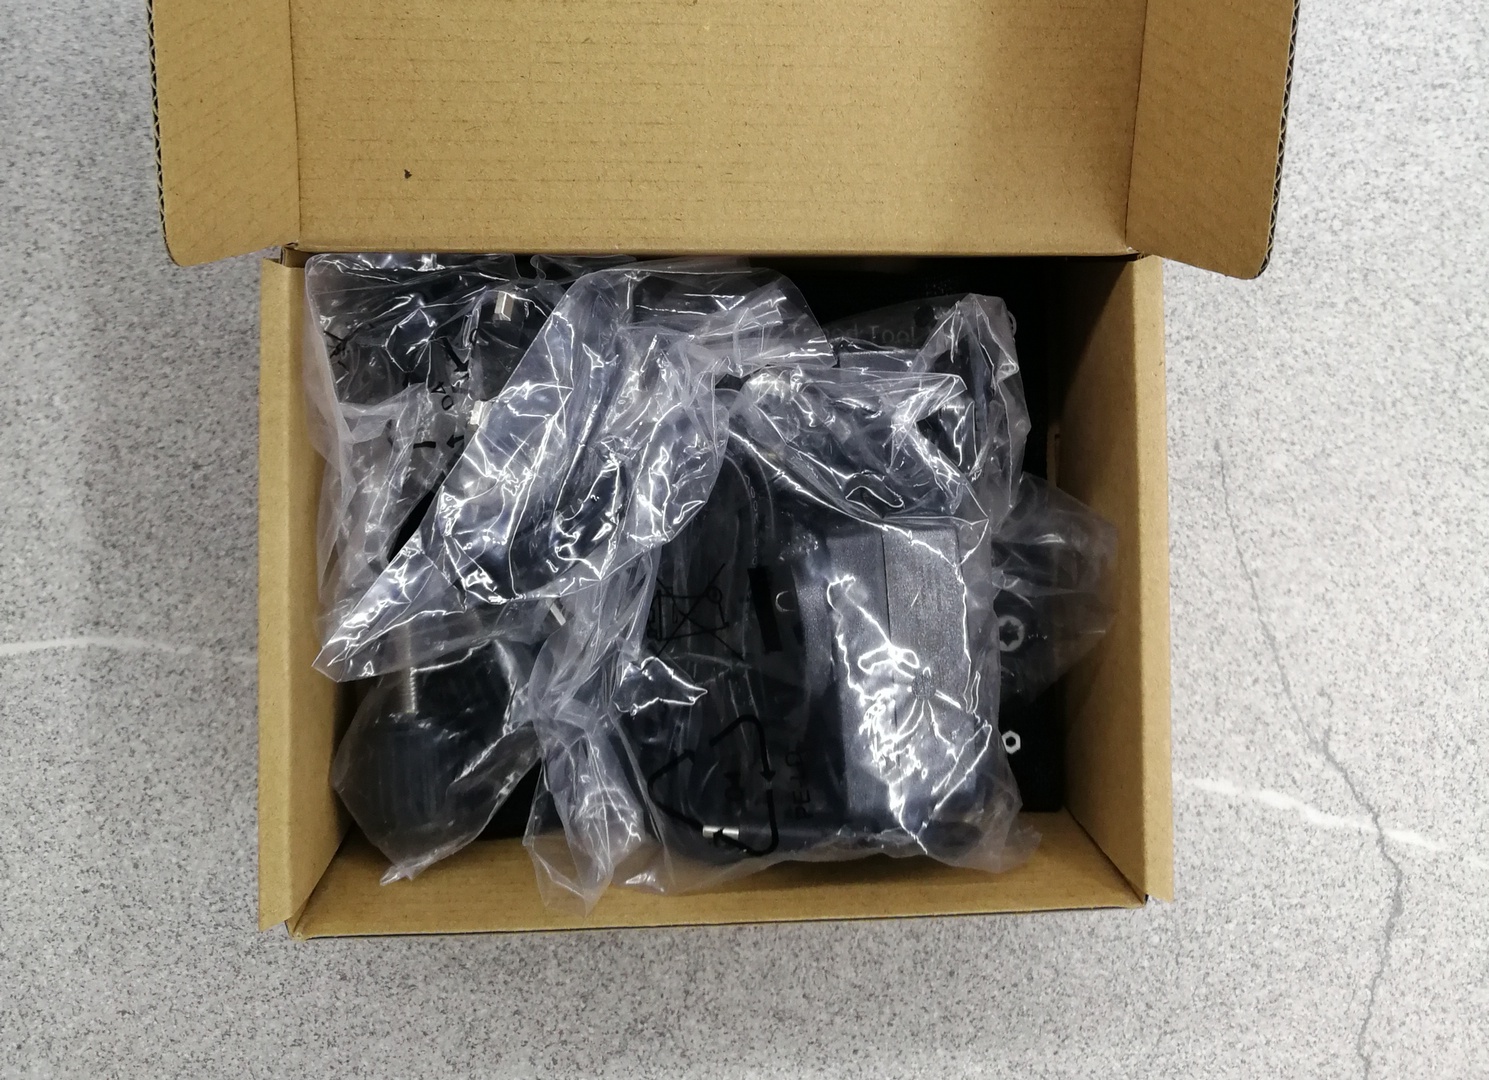
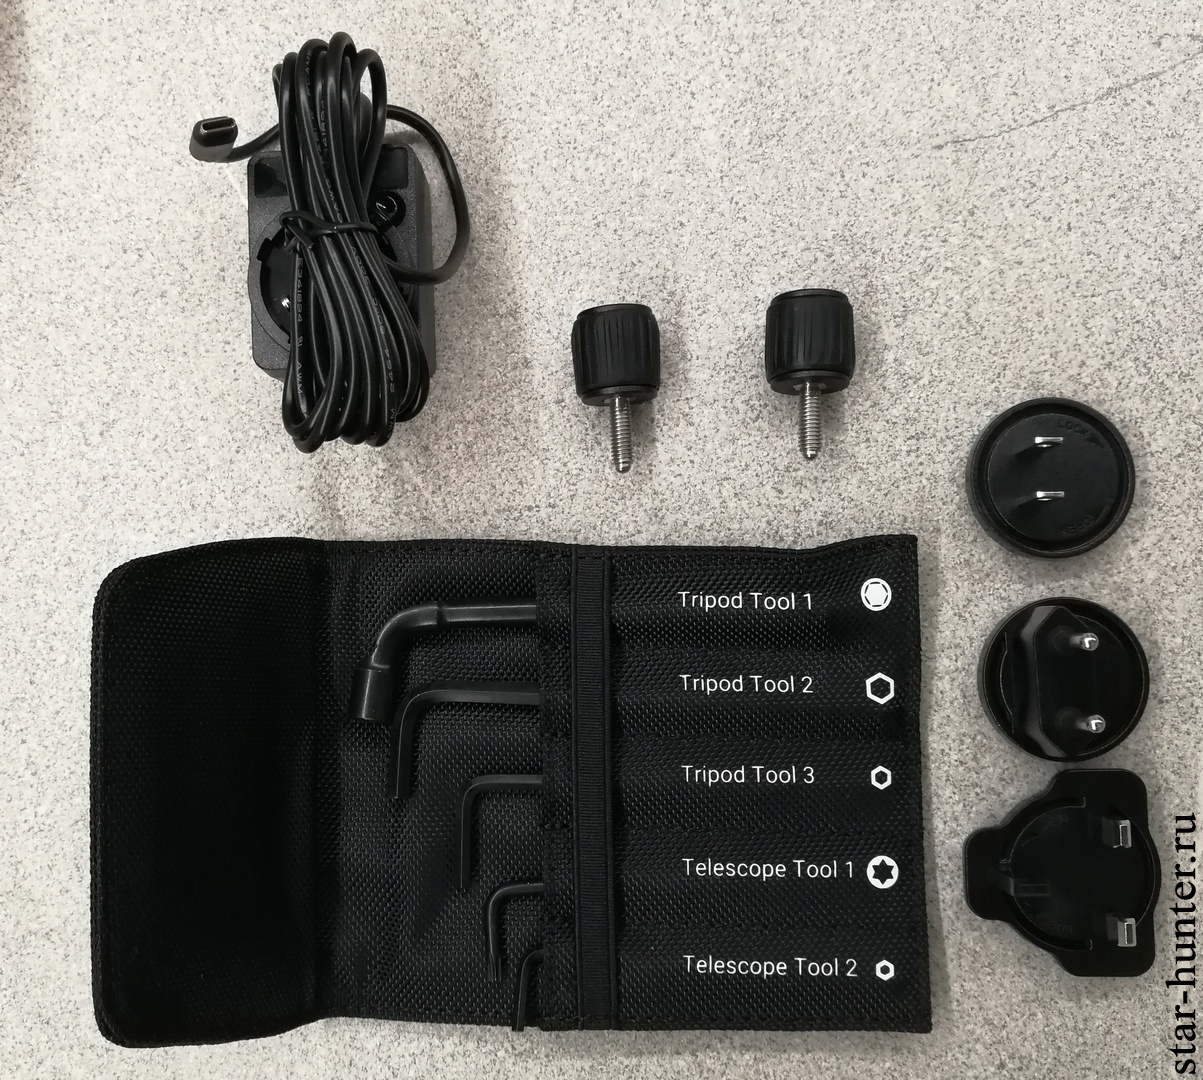
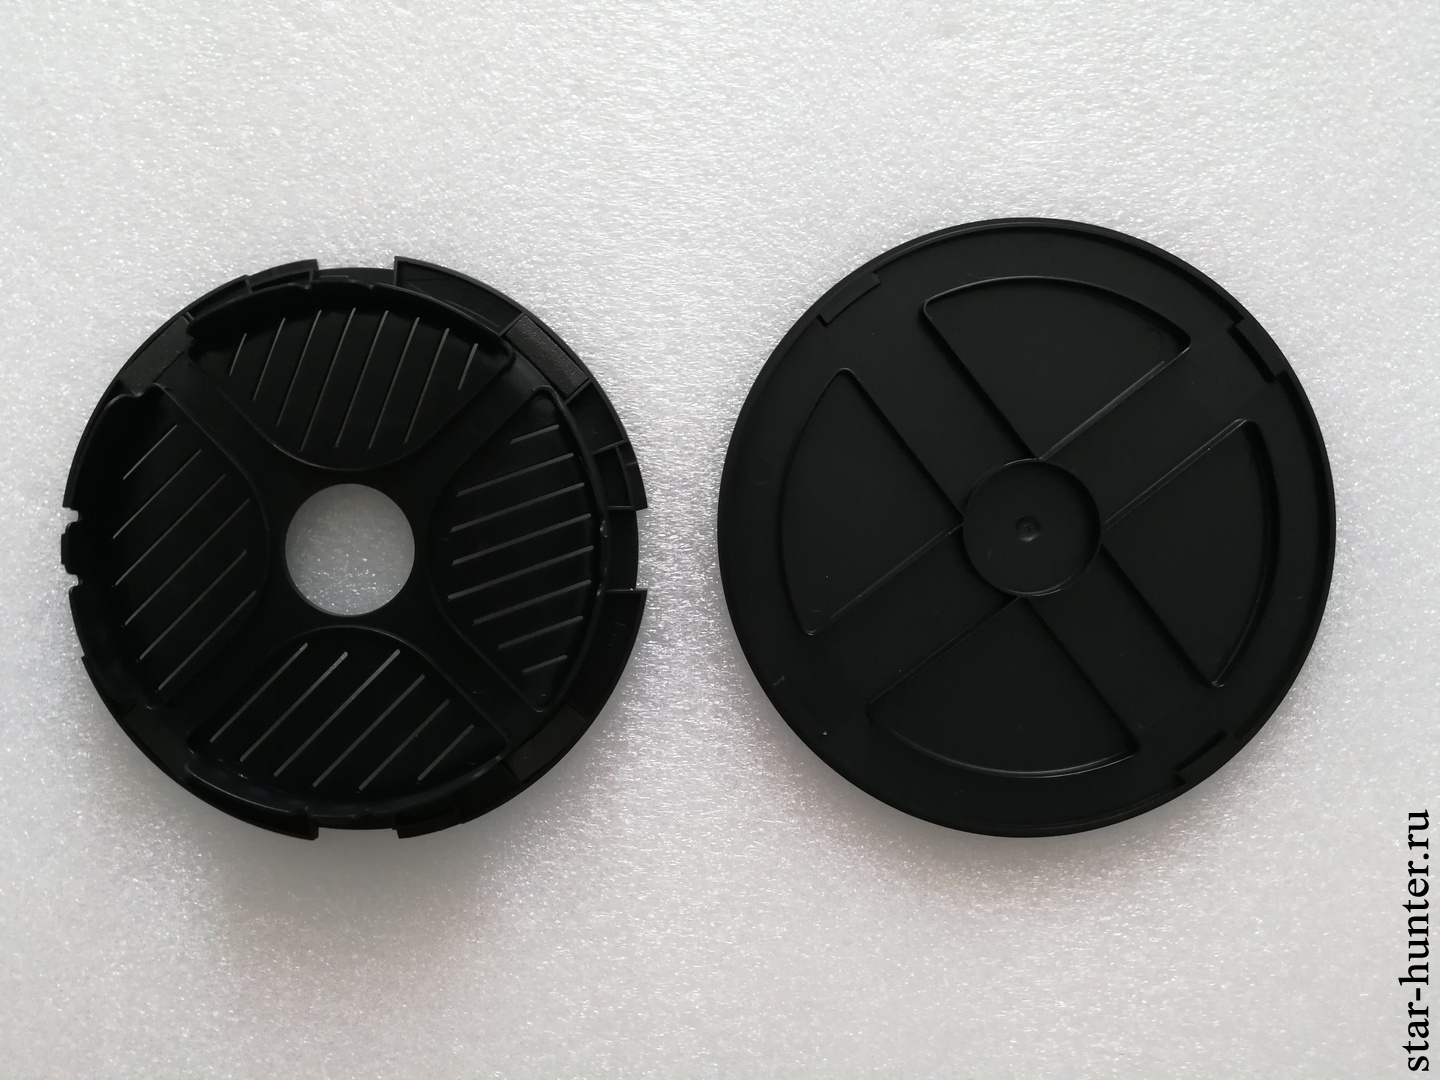
Inside the box – full instructions in English, brief instructions in English, manual in Russian, a telescope tube with a mount, a protective cover with a built-in Bakhtinov mask, a tripod, and a small box with accessories (charger with adapters, a set of hex keys, two fixing screws ). You can also purchase a special carrying bag for the telescope.

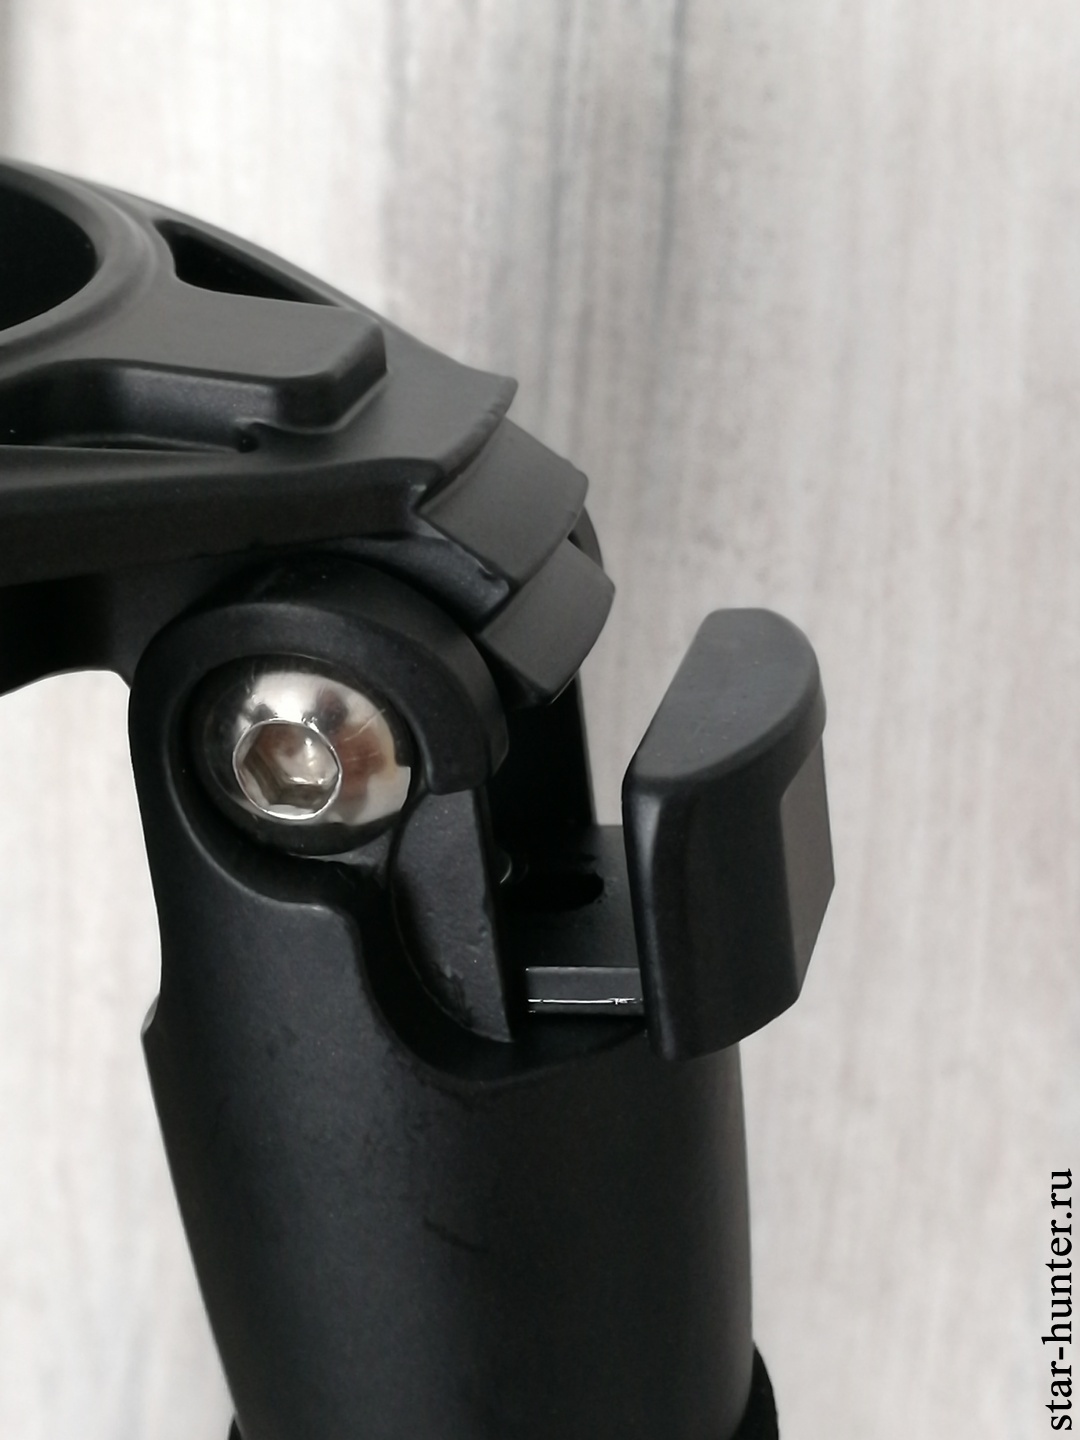
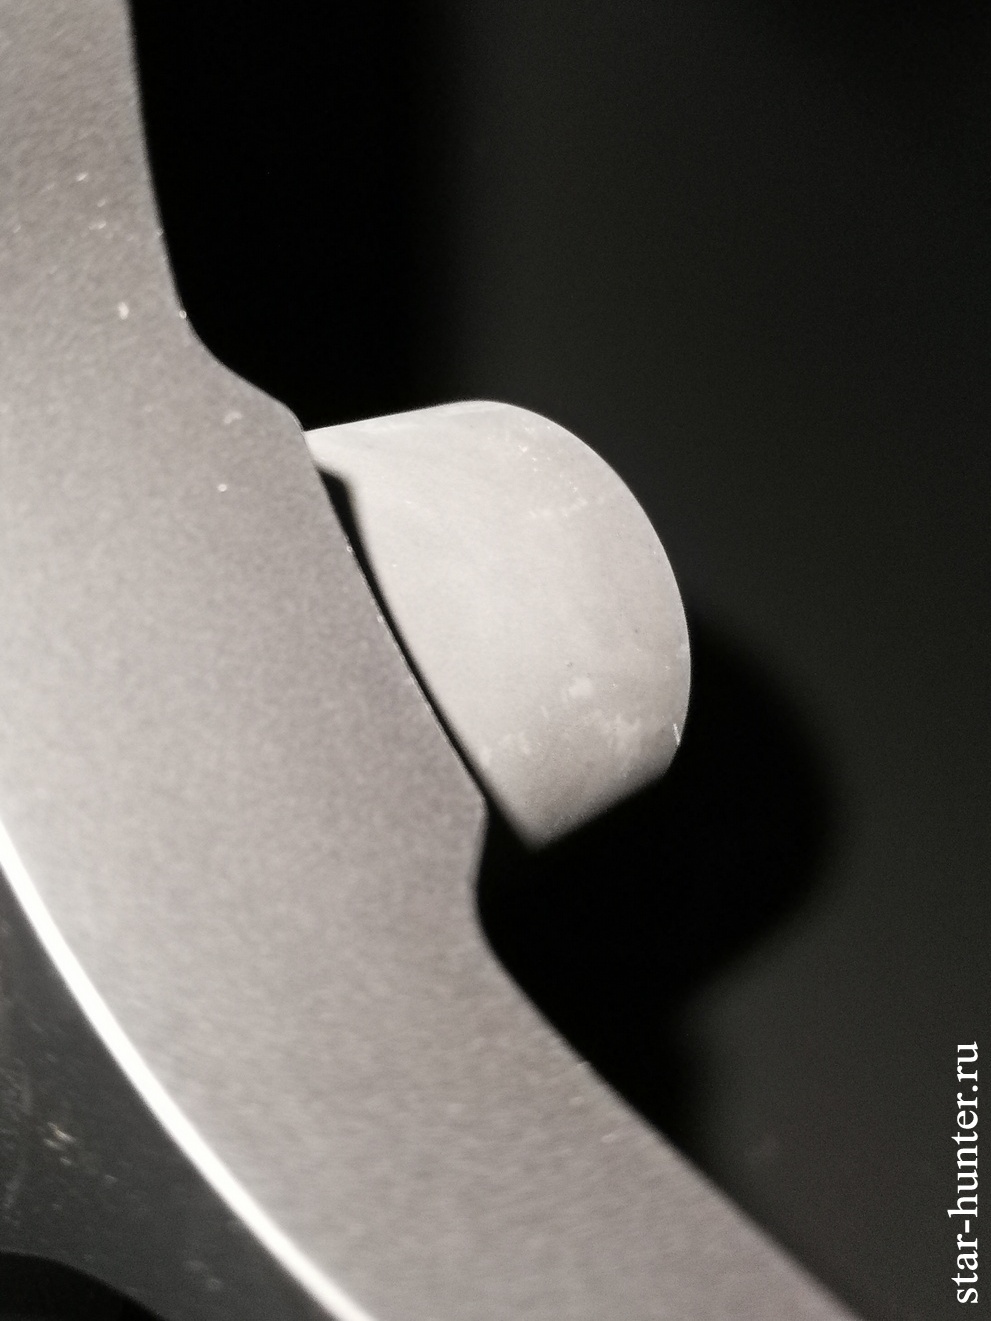
 A latch is also installed between the tube and the mount – apparently, so that the main mirror does not spontaneously rotate during transportation.
Everything is packed quite tightly, compactly and reliably.
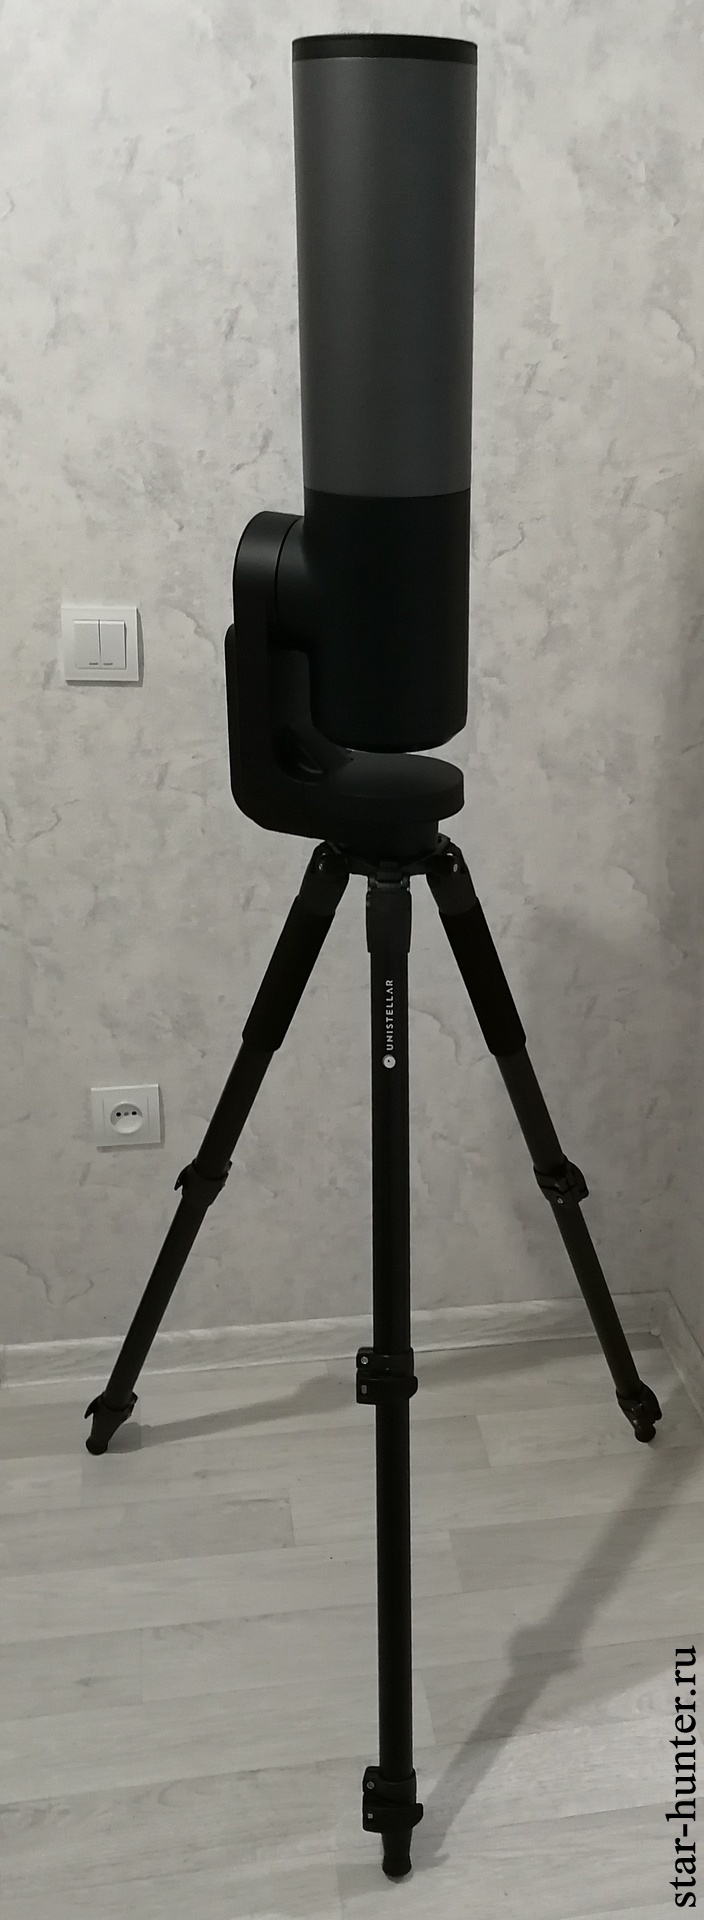
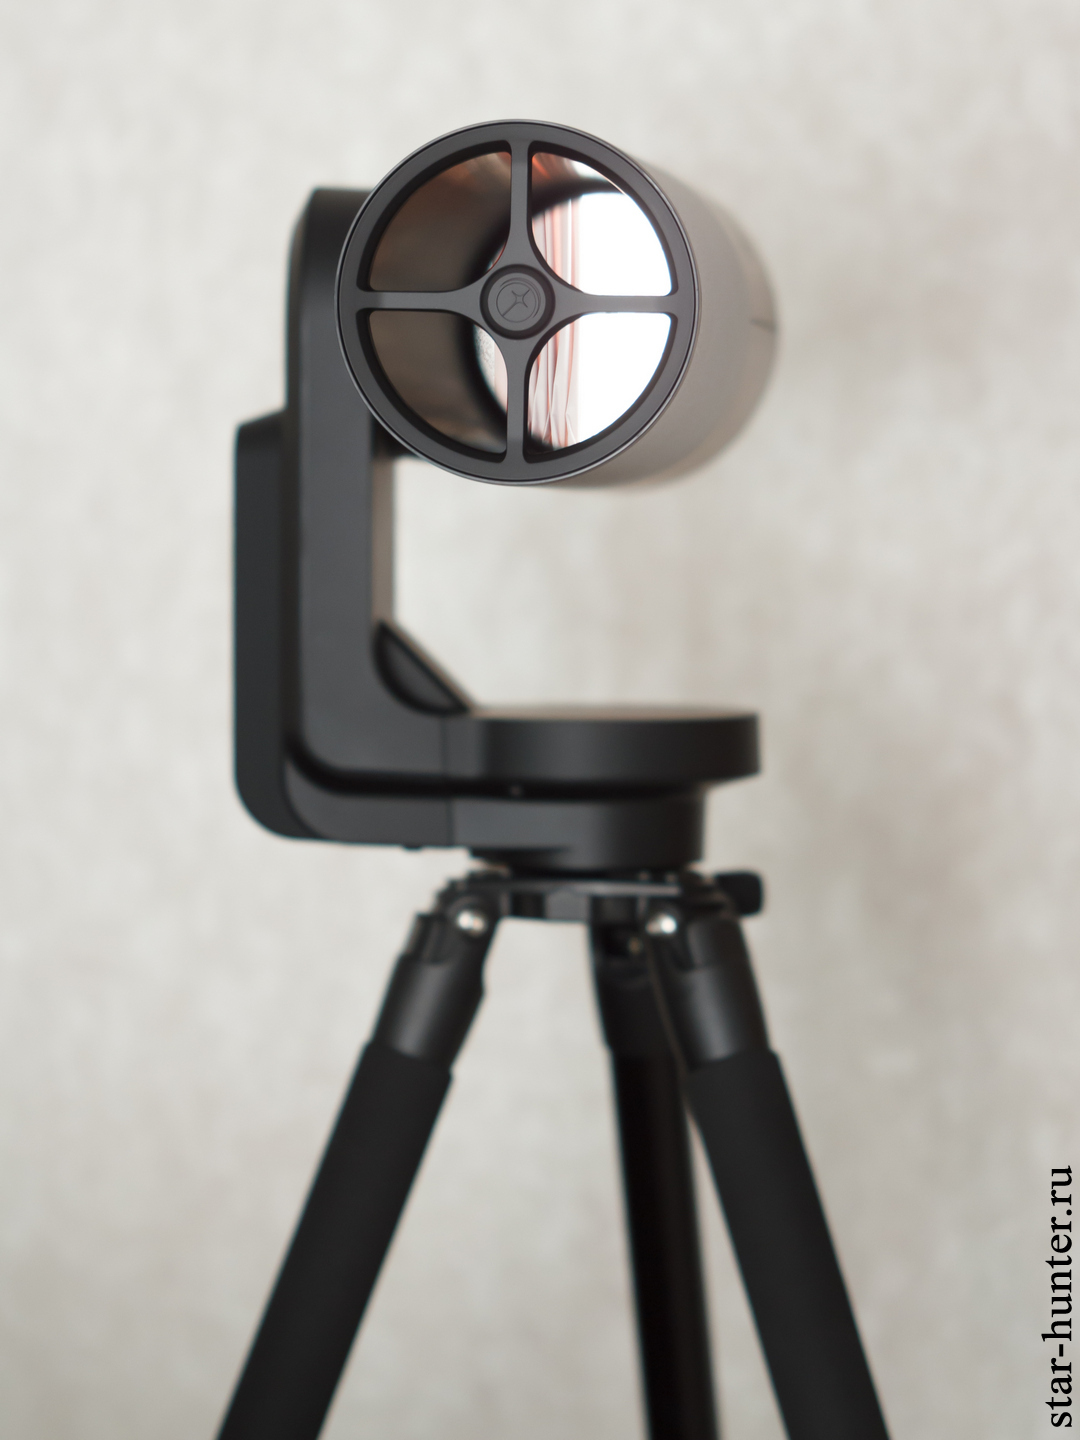
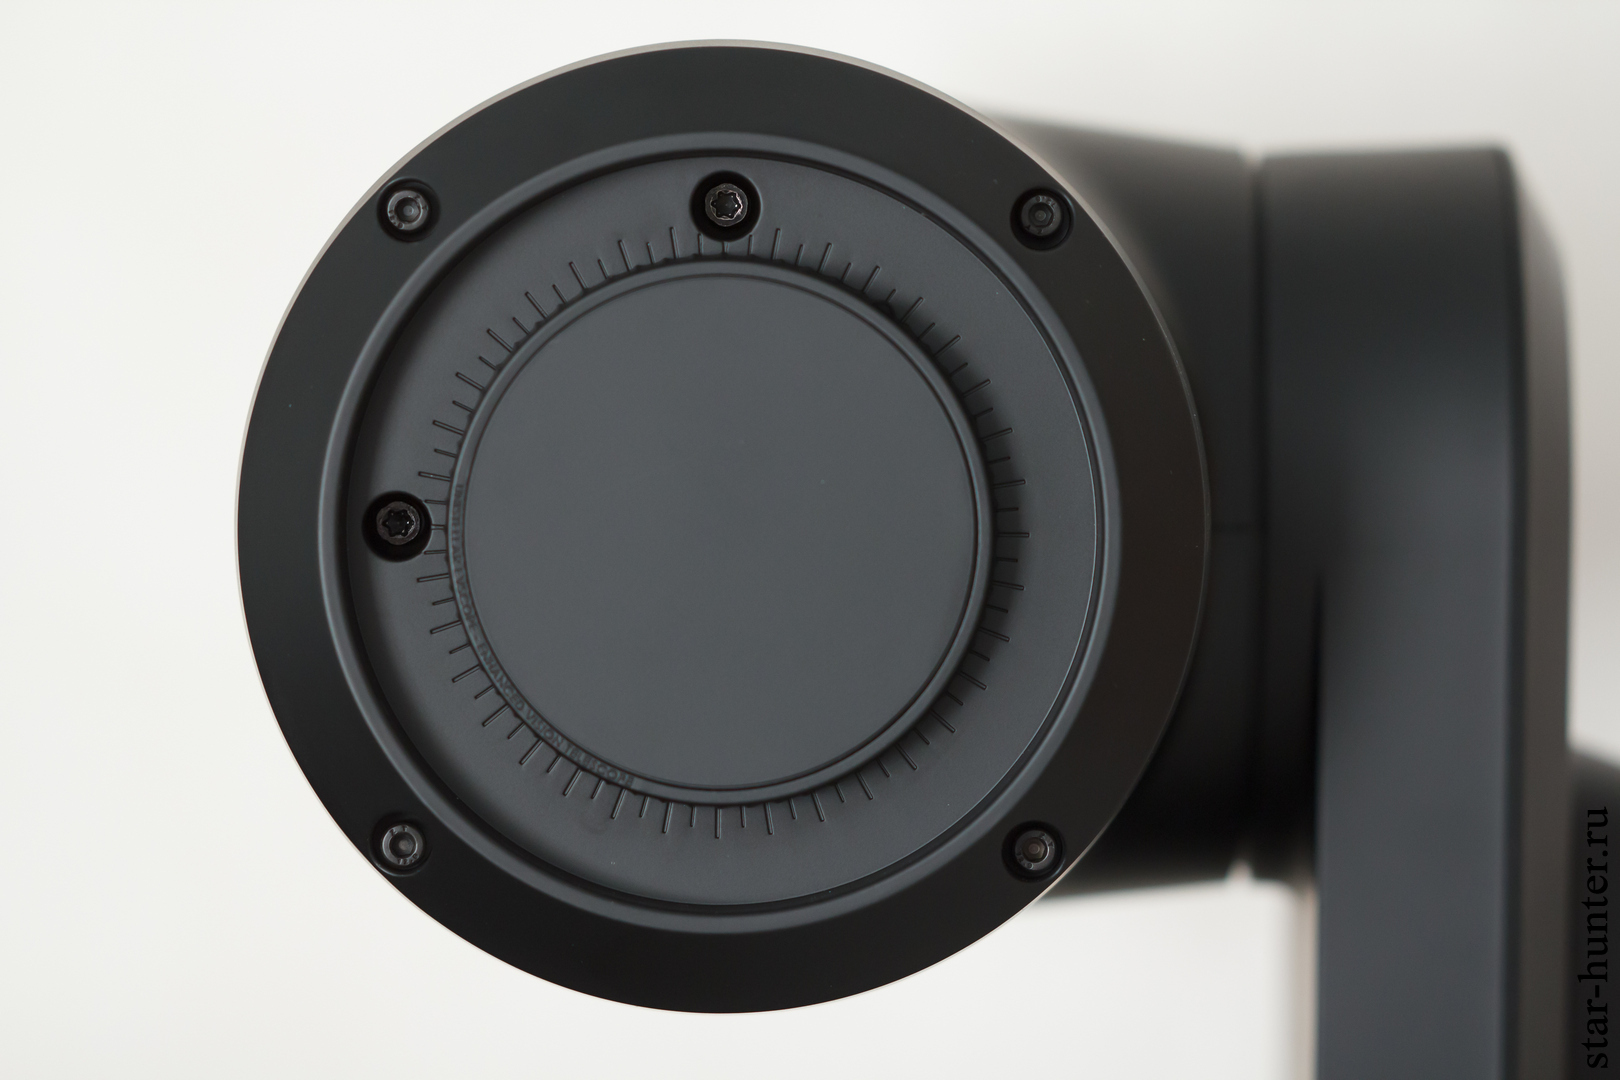
Assembling the telescope is very simple – extend the legs of the tripod, place it on a flat surface, align the tripod with the built-in bubble level, place the telescope with the mount on top and tighten the 2 fixing screws. The length of the tube is 55 cm. The length of the tube to the base of the mount – 68.5 cm. The tube is permanently connected to the mount. Inside the mount there are motors, a built-in battery, a Wi-Fi antenna and a micro computer. The maximum height of the tube above the floor with the most extended tripod is 190 cm. The distance from the center of the console to the edge of the tube is 42 cm The tripod is metal, three-legged. There are two leg angle positions. The maximum length of the tripod is 130 cm, the maximum height of the tripod base above the floor is 124 cm. The minimum length of the tripod is 58 cm, The minimum tripod base is 55 cm, or 40 cm. The weight of the tripod is 2.2 kg. The weight of the tube is 6.6 kg. Total: about 8.8 kg.
Optics, mechanics, electronics
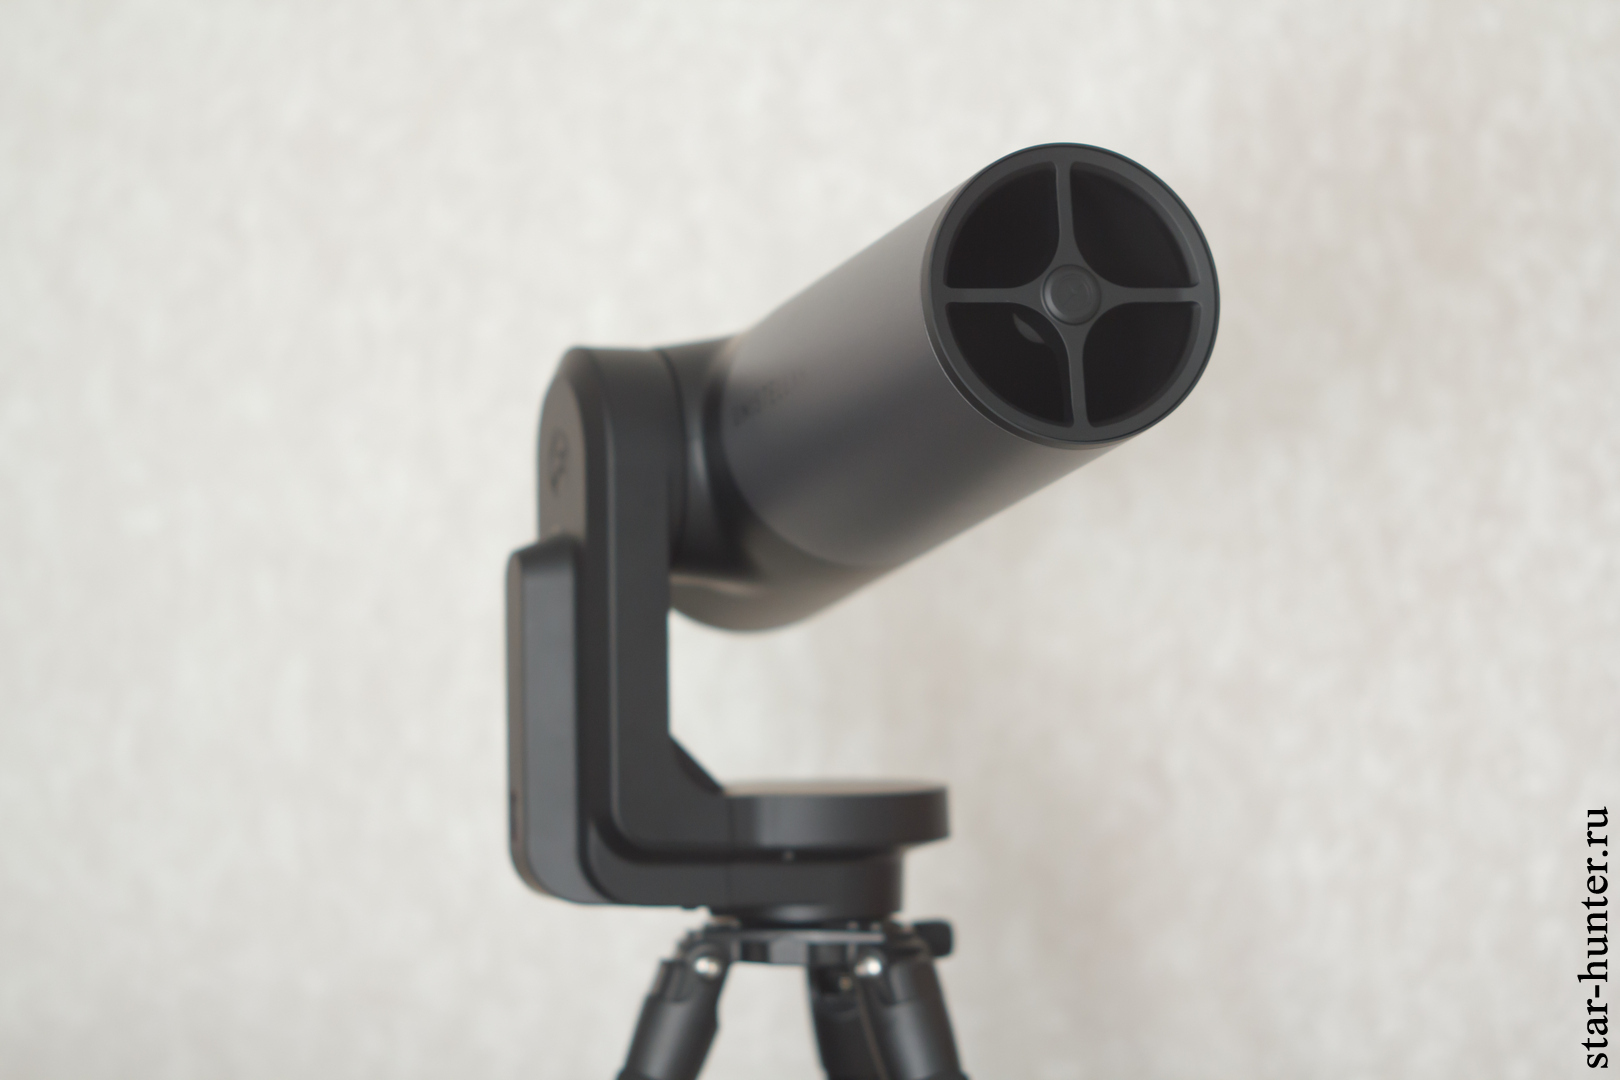
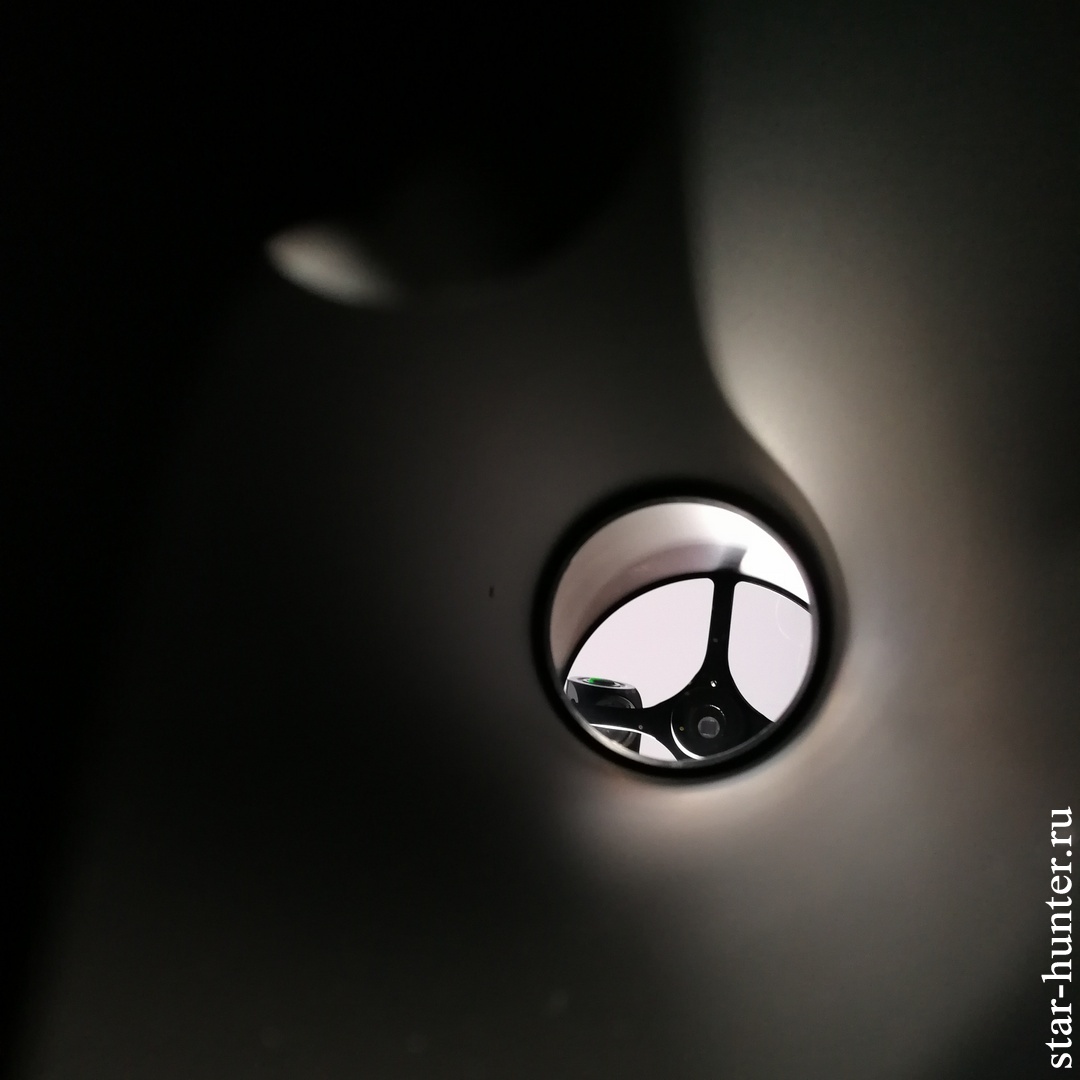
The optical tube is a prime focus single mirror telescope. The main mirror is declared parabolic, the diameter is 114 mm (according to some sources, 112 mm), the focal length is 450 mm – this is a very fast mirror f \ 3.9. The shape of the mirror is not specified by the manufacturer, only the material (BK7). Diameter of an entrance diaphragm – 118 mm. There is no coma corrector. It is possible to collimate the main mirror.
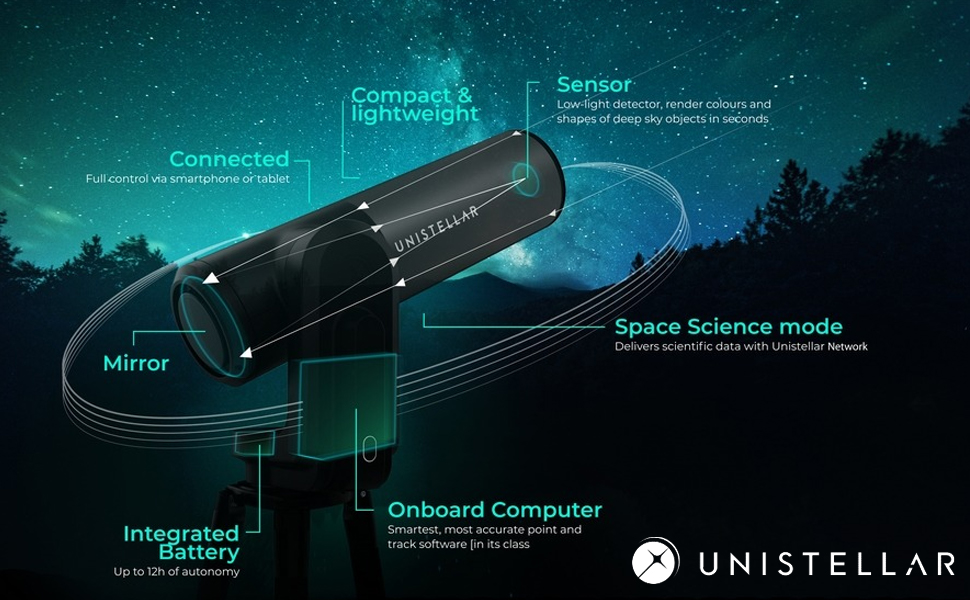
The camera is attached to four thick plastic braces at the front of the telescope. Sensor – color CMOS Sony IMX224. The sensor is covered with round glass (not IR-cut). Installation of light filters is not provided. The physical resolution of the sensor is 1280×960. There is support for dark frame calibration, I recommend doing it regularly before observing or shooting to avoid hot pixels. There is also a small hood in front of the sensor.
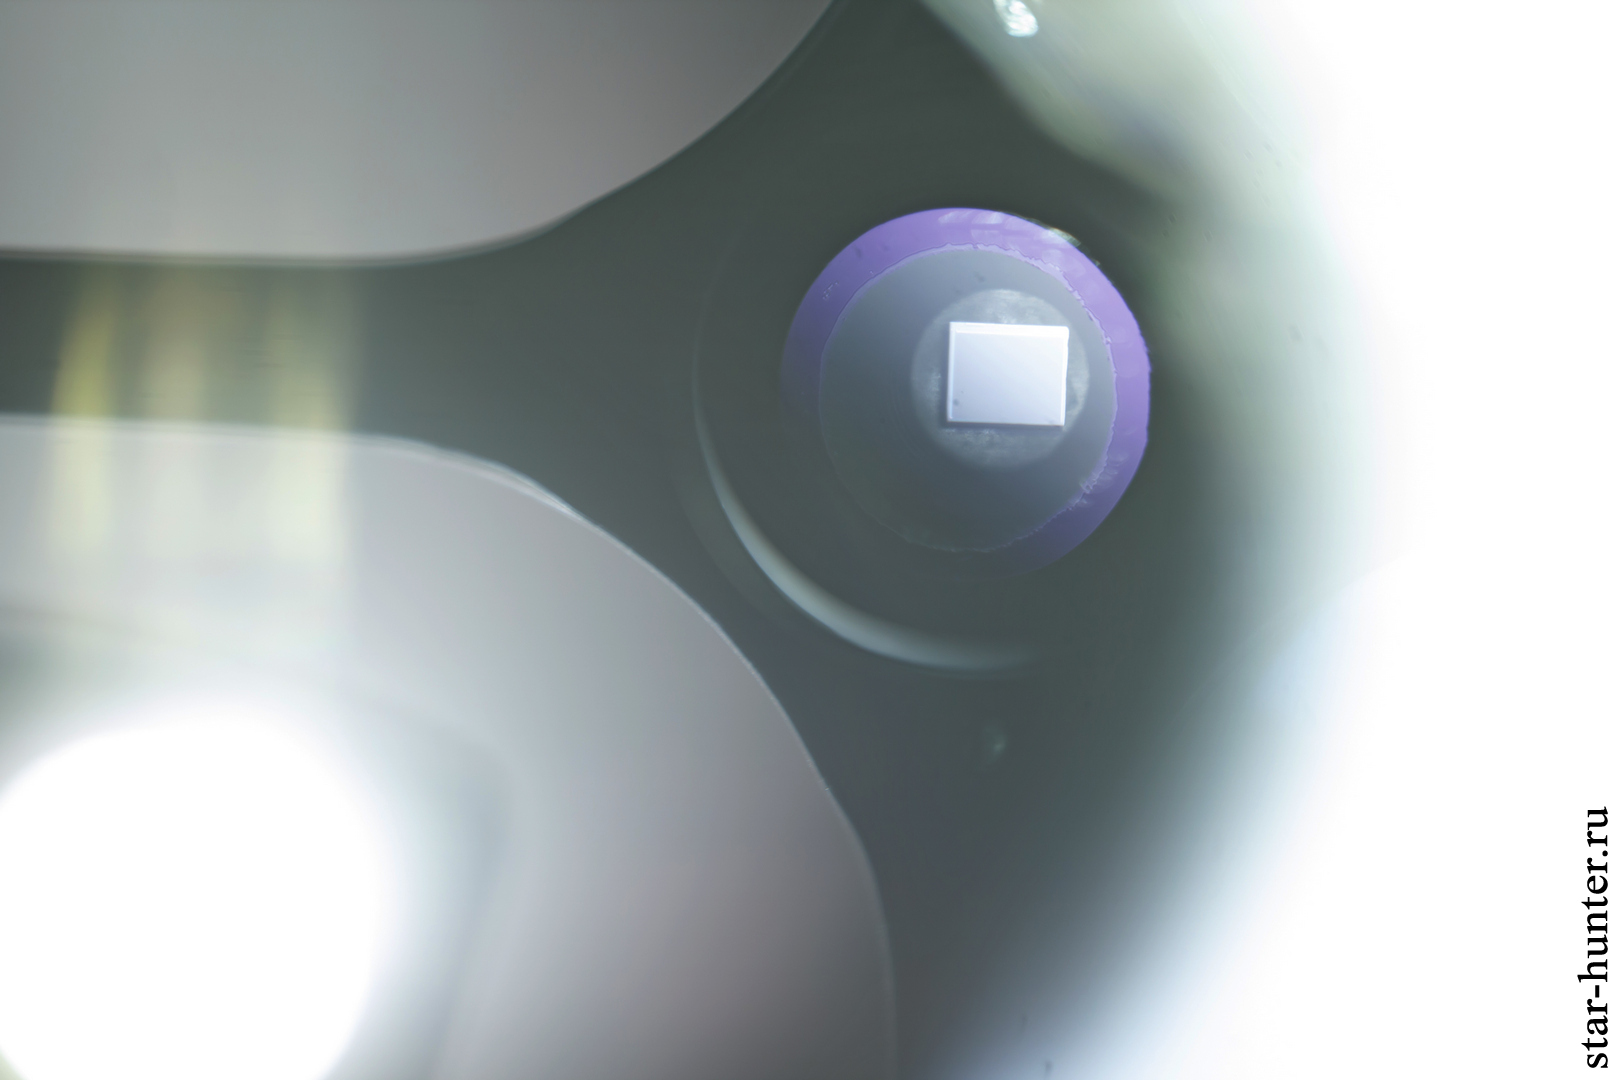
Focusing is done by moving the main mirror using a large focusing wheel at the rear of the tube. The mirror shift is 4.2 mm. Four hex screws hold the mirror assembly in place should cleaning of the optics be required. The two 90 degree screws are adjustment screws for adjusting the tilt of the mirror.
For collimation, you need to point the telescope at a bright star, move it into the center field of view and defocus the image. The cross from stretch marks should be in the center. When shifting the cross, one or more adjusting screws must be rotated accordingly.
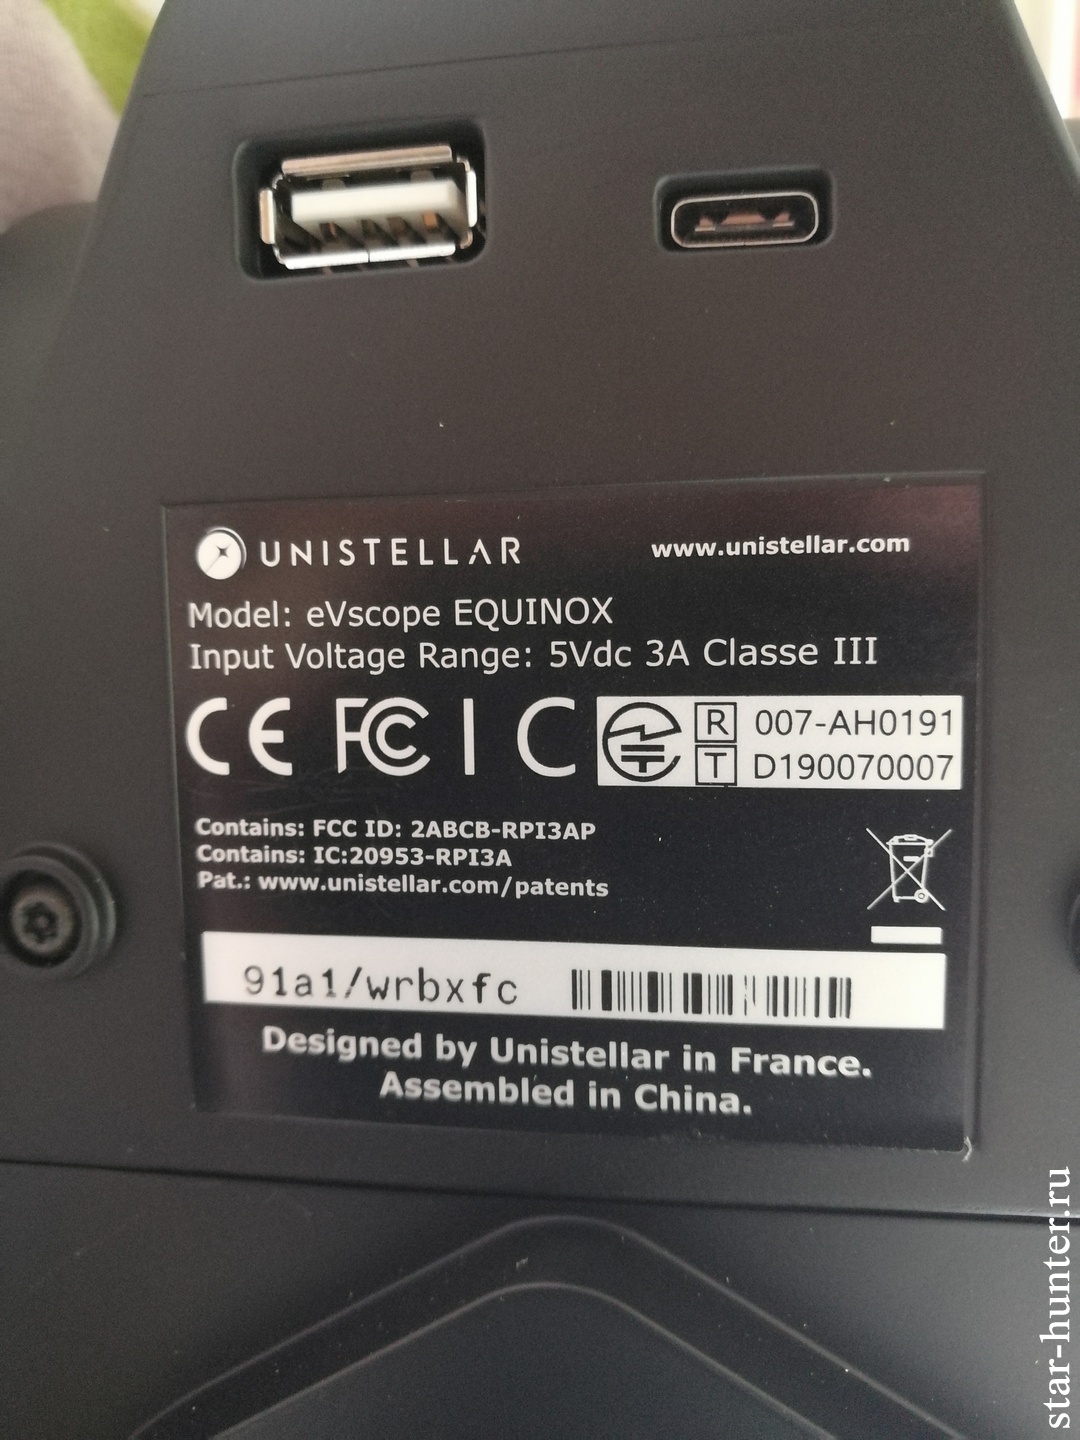
 Mount – alt-azimuth, single-arm, equipped with DC motors. You cannot rotate the mount by hand – ONLY through the application. In the parking position, the telescope tube is vertical. Turning 180 degrees in azimuth at maximum speed takes 48 seconds, turning 90 degrees in altitude (from the horizon to the zenith) – 30 seconds. With manual moving to the zenith, the tube stops, a 180-degree turn in height is not provided. To improve tube stability, I recommend not fully extending the tripod, but using only one or two tripod legs. There are two USB ports on the bottom of the mount – a large one for charging your phone, a small one for charging the mount. They are not intended to be connected to a computer.
There is a single illuminated button on the side of the mount. The color of the backlight can change to indicate the telescope’s current status – battery level, connection status, etc.
Red: the eVscope is ON and working well
Red and blinking: eVscope in use, while performing Goto or stacking (Enhanced Vision)
Blue and blinking: the eVscope is off and charging. It will blink from 6 times (fully discharged) to constant blue (fully charged)
Blink 6 times: the battery charge is between 0% and 64%
Blink 5 times: the battery charge is between 64% and 72%
Blink 4 times: the battery charge is between 72% and 80%
Blink 3 times: the battery charge is between 80% and 88%
Blink 2 times: the battery charge is between 88% and 96%
Blink 1 time: the battery charge is between 96% and 100%
Yellow and blinking: the eVscope is being updated
Green (for 1 minute): The data transfer succeeded
Orange (for 1 minute): The data transfer failed
Green and blinking: upload in progress
Purple: the eVscope embedded software is turning ON or OFF
Purple and blinking 5 times: eVscope is OFF and doesn’t have enough charge to turn ON. You need to charge it
White: an error happened. You should reboot your eVscope.
The telescope has a built-in rechargeable battery, removal or replacement is not provided by the user, the capacity is not declared directly by the manufacturer. A full charge of the battery takes about 8 hours, while the operating time is up to 10-12 hours. The battery needs to be charged every 2-3 months to avoid battery problems. Do not allow the battery to completely discharge.
Functions and features
Unistellar eVscope eQuinox was originally designed to observe on the screen and capture the following types of objects:
– galaxies
– nebulae
– star clusters
– stars
– comets
– asteroids.
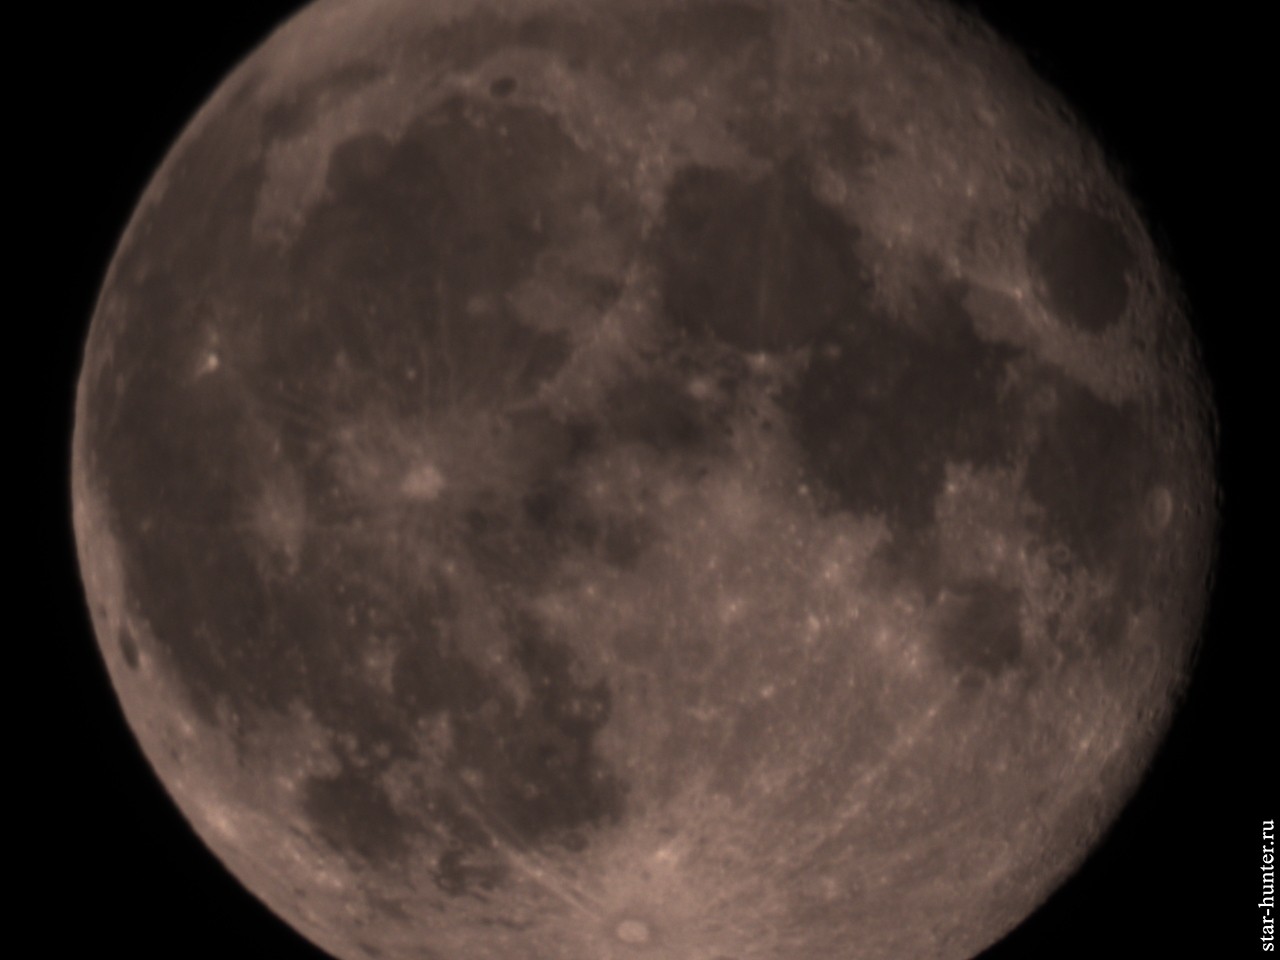
The full moon, unfortunately, does not fit into the field of view. But half of the moon may well fit.

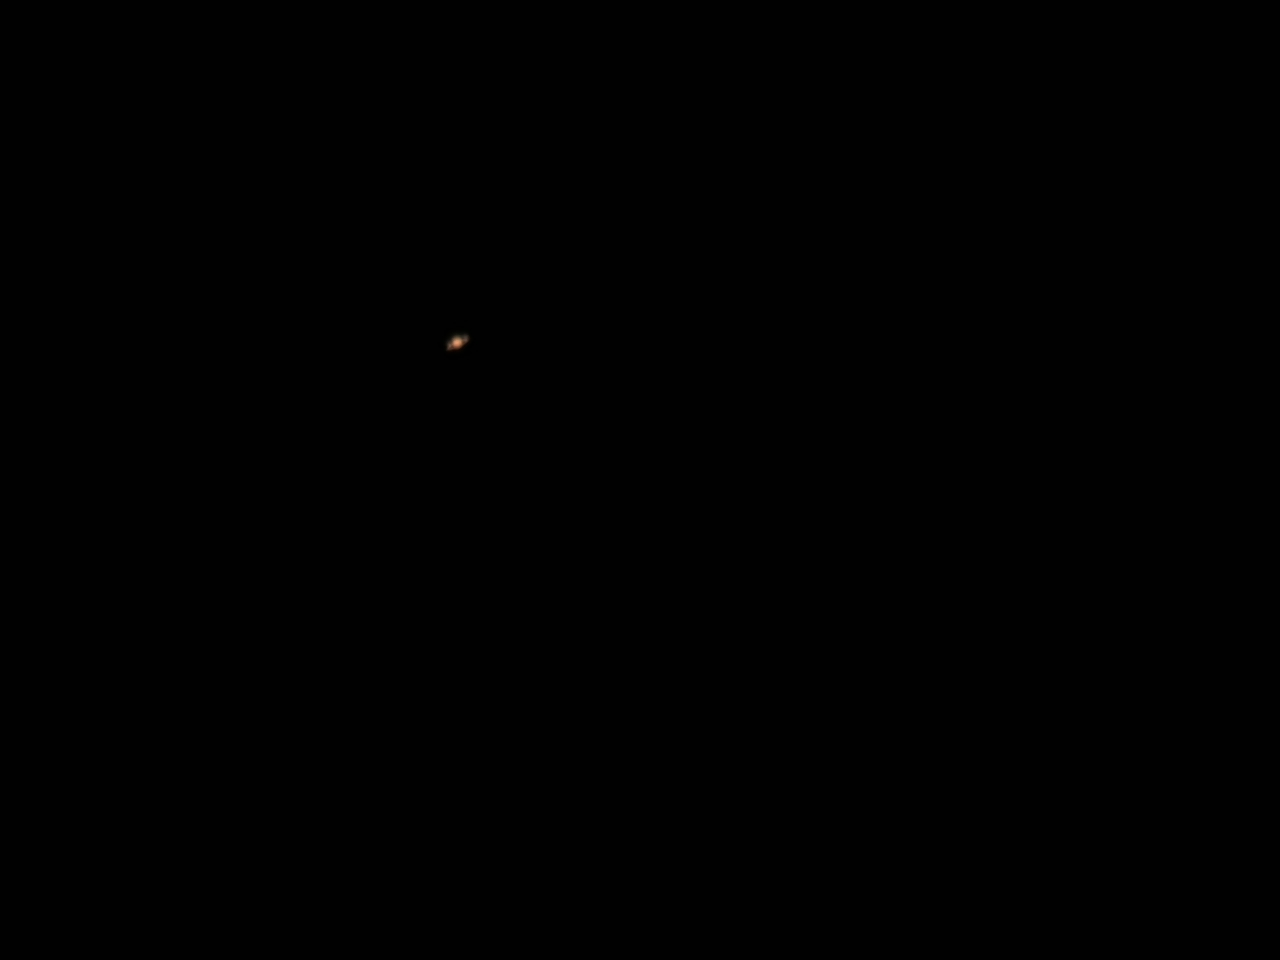
The planets turn out to be too small due to the inability to increase the focal length, however, it will show the presence of rings and satellites of Saturn, satellites of Jupiter, as well as the phases of Venus.
The Unistellar eVscope eQuinox is not designed to observe and capture the Sun. Accidental or special aiming of the telescope at the Sun without additional solar filters can damage the telescope.
Software
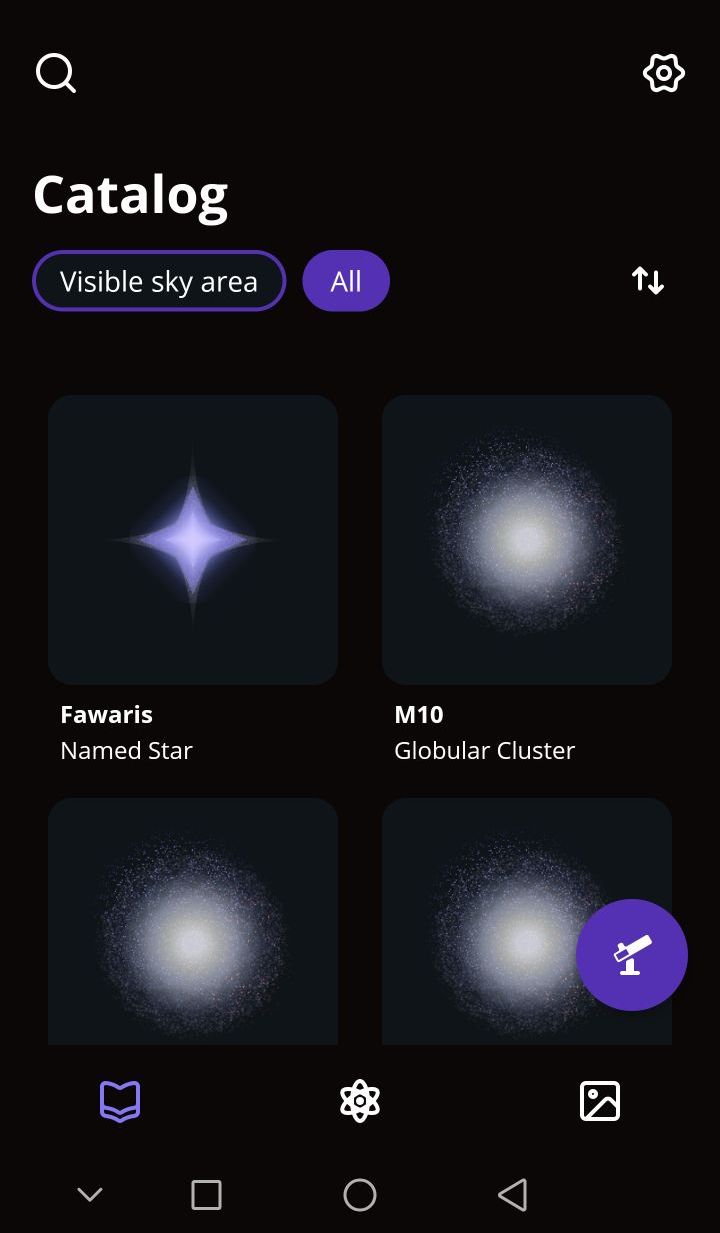
One of the main ideas of the Unistellar eVscope eQuinox telescope is that the built-in camera takes several pictures of a section of the sky, detects stars and compares them with the built-in star map, and then the telescope understands in which direction to look for other objects. Pointing accuracy was very high. At the same time, know the location of stars and planets. The second idea is real-time observation of objects with the possibility of stacking frames. Moreover, all this does not require knowledge of the starry sky, but it will be necessary to read the instructions for the telescope. It is very good that there is an instruction in Russian in the kit. I also recommend that you read FAQ on the official website – even with a translator, everything is quite clear.
The telescope is controlled using the Unistellar app via Wi-Fi. Moreover, 10 devices can be connected to one telescope simultaneously – 1 operator and 9 observers. An internet connection is not required to operate the telescope. Unfortunately, the application interface is in English – I hope that Russian will be added in future versions.
For the required minimum for a smartphone or a tablet:
Android 7 or iOS 14 operating system* (though, we highly recommend using at least Android 11 or iOS 15)
2GB minimum of RAM (Random Access Memory): 108.5Mo for the App installation and 500Mo (1GB is better) available for pictures stored in your phone’s gallery
Note: the App is not supported by FireOS, Huawei Harmony OS, and is not available to download to PC or MAC (including M1).
Please note that the Unistellar App will no longer be fully operational:
on older iPhones and iPads still running iOS12 and prior (iPhone 3G/GS, iPhone 4, iPhone 5S/C, iPhone 6S/6Plus, iPad Air, iPad mini 2, iPad mini 3), starting from April 17, 2022
on older iPhones and iPads still running iOS13 and prior (iPhone 3G/GS, iPhone 4, iPhone 5S/C, iPhone 6S/6Plus, iPad Air, iPad mini 2, iPad mini 3), starting from November 2d, 2022
on older devices running Android 6 and prior, starting from November 2d, 2022
On my old Honor 8 Pro, the application launched without problems and immediately offered to update the firmware in the telescope. We turn on the telescope, turn on Wi-Fi on the smartphone, launch the application.
Next, you need to find a Wi-Fi network called eVscope-xxxxxx (instead of xxxxxx – six random letters). After that, you need to connect to the telescope, use the on-screen joystick to tilt the tube by about 45 degrees and focus on some bright star by rotating the adjusting wheel at the back of the telescope. You can use the Bakhtinov mask that comes with the telescope – it is enough to achieve a symmetrical view of the rays relative to the center of the star. Also, for focusing, you can use distant lights at a distance of 200 meters. Next, we run the Autonomous Field Detection function, the telescope takes several pictures of the stars. After the message “Star Tracking: On” appears, the telescope will start tracking objects.
To search for objects, you need to go to the Explore tab, select an object from the search or from the proposed objects, press the Goto button and wait for the object to be hovered over.
Be sure to perform a dark frame calibration before shooting. In principle, this can be done immediately after connecting to the telescope, while the protective cover is installed on the telescope so as not to touch the telescope once again. If observations are made at a similar temperature (for example, several days in a row), then calibration is not necessary. But if red and green pixels begin to appear on the image, then you need to calibrate.
I’ll give a couple of ideas to the telescope manufacturer – a bank of dark frames 🙂 For example, at the factory they immediately shoot a bank of dark frames at different temperatures (for example, from -10 to +40 degrees), then the telescope selects a dark frame for subtraction using the temperature sensor of the sensor. If necessary, the sensor is recalibrated at a certain temperature or over the entire range. Or, in general, map defective pixels and replace them with neighboring ones (this function is used in some consumer cameras, the so-called remapping).
In my experience with the telescope, the complete startup process looks like this:
1) turning on the telescope
2) connecting to the telescope via Wi-Fi
3) calibrating the sensor – taking a dark frame (if necessary)
4) aiming the telescope at any star (but not at the zenith!)
5) focusing on a star, checking alignment
6) adjusting the mirror (if necessary)
7) performing star alignment 8) aiming at the desired object and shooting.
There are quite a lot of points, but some of them are performed out of necessity, so the actual time from launching the telescope to shooting celestial objects can be noticeably reduced.
TO AVOID DAMAGE OF THE TELESCOPE BEFORE AIMING AN OBJECT, MAKE SURE THAT THE TELESCOPE DOES NOT BOUND A WALL OR OTHER OBSTACLE DURING ROTATION!
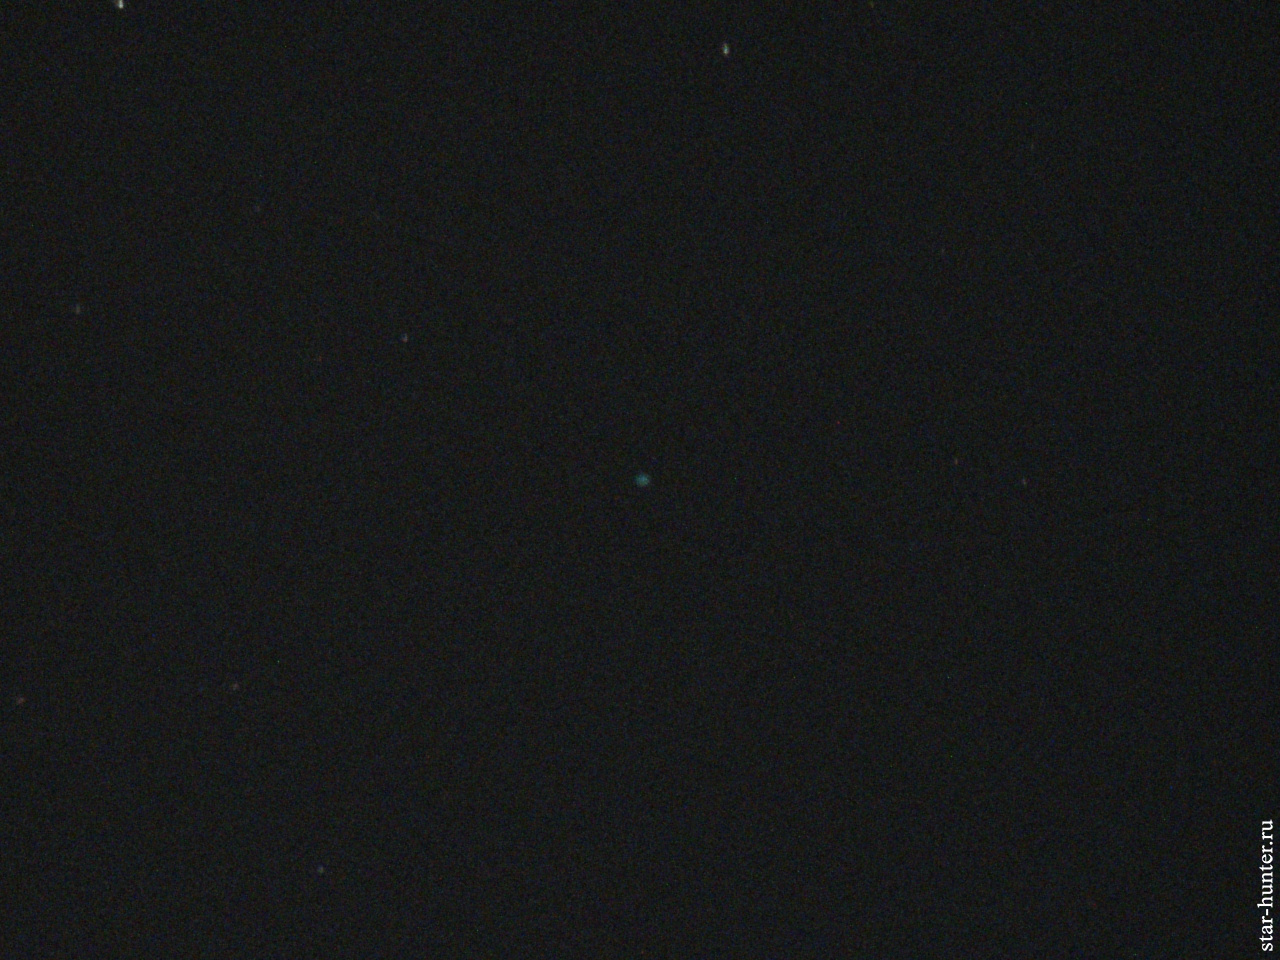
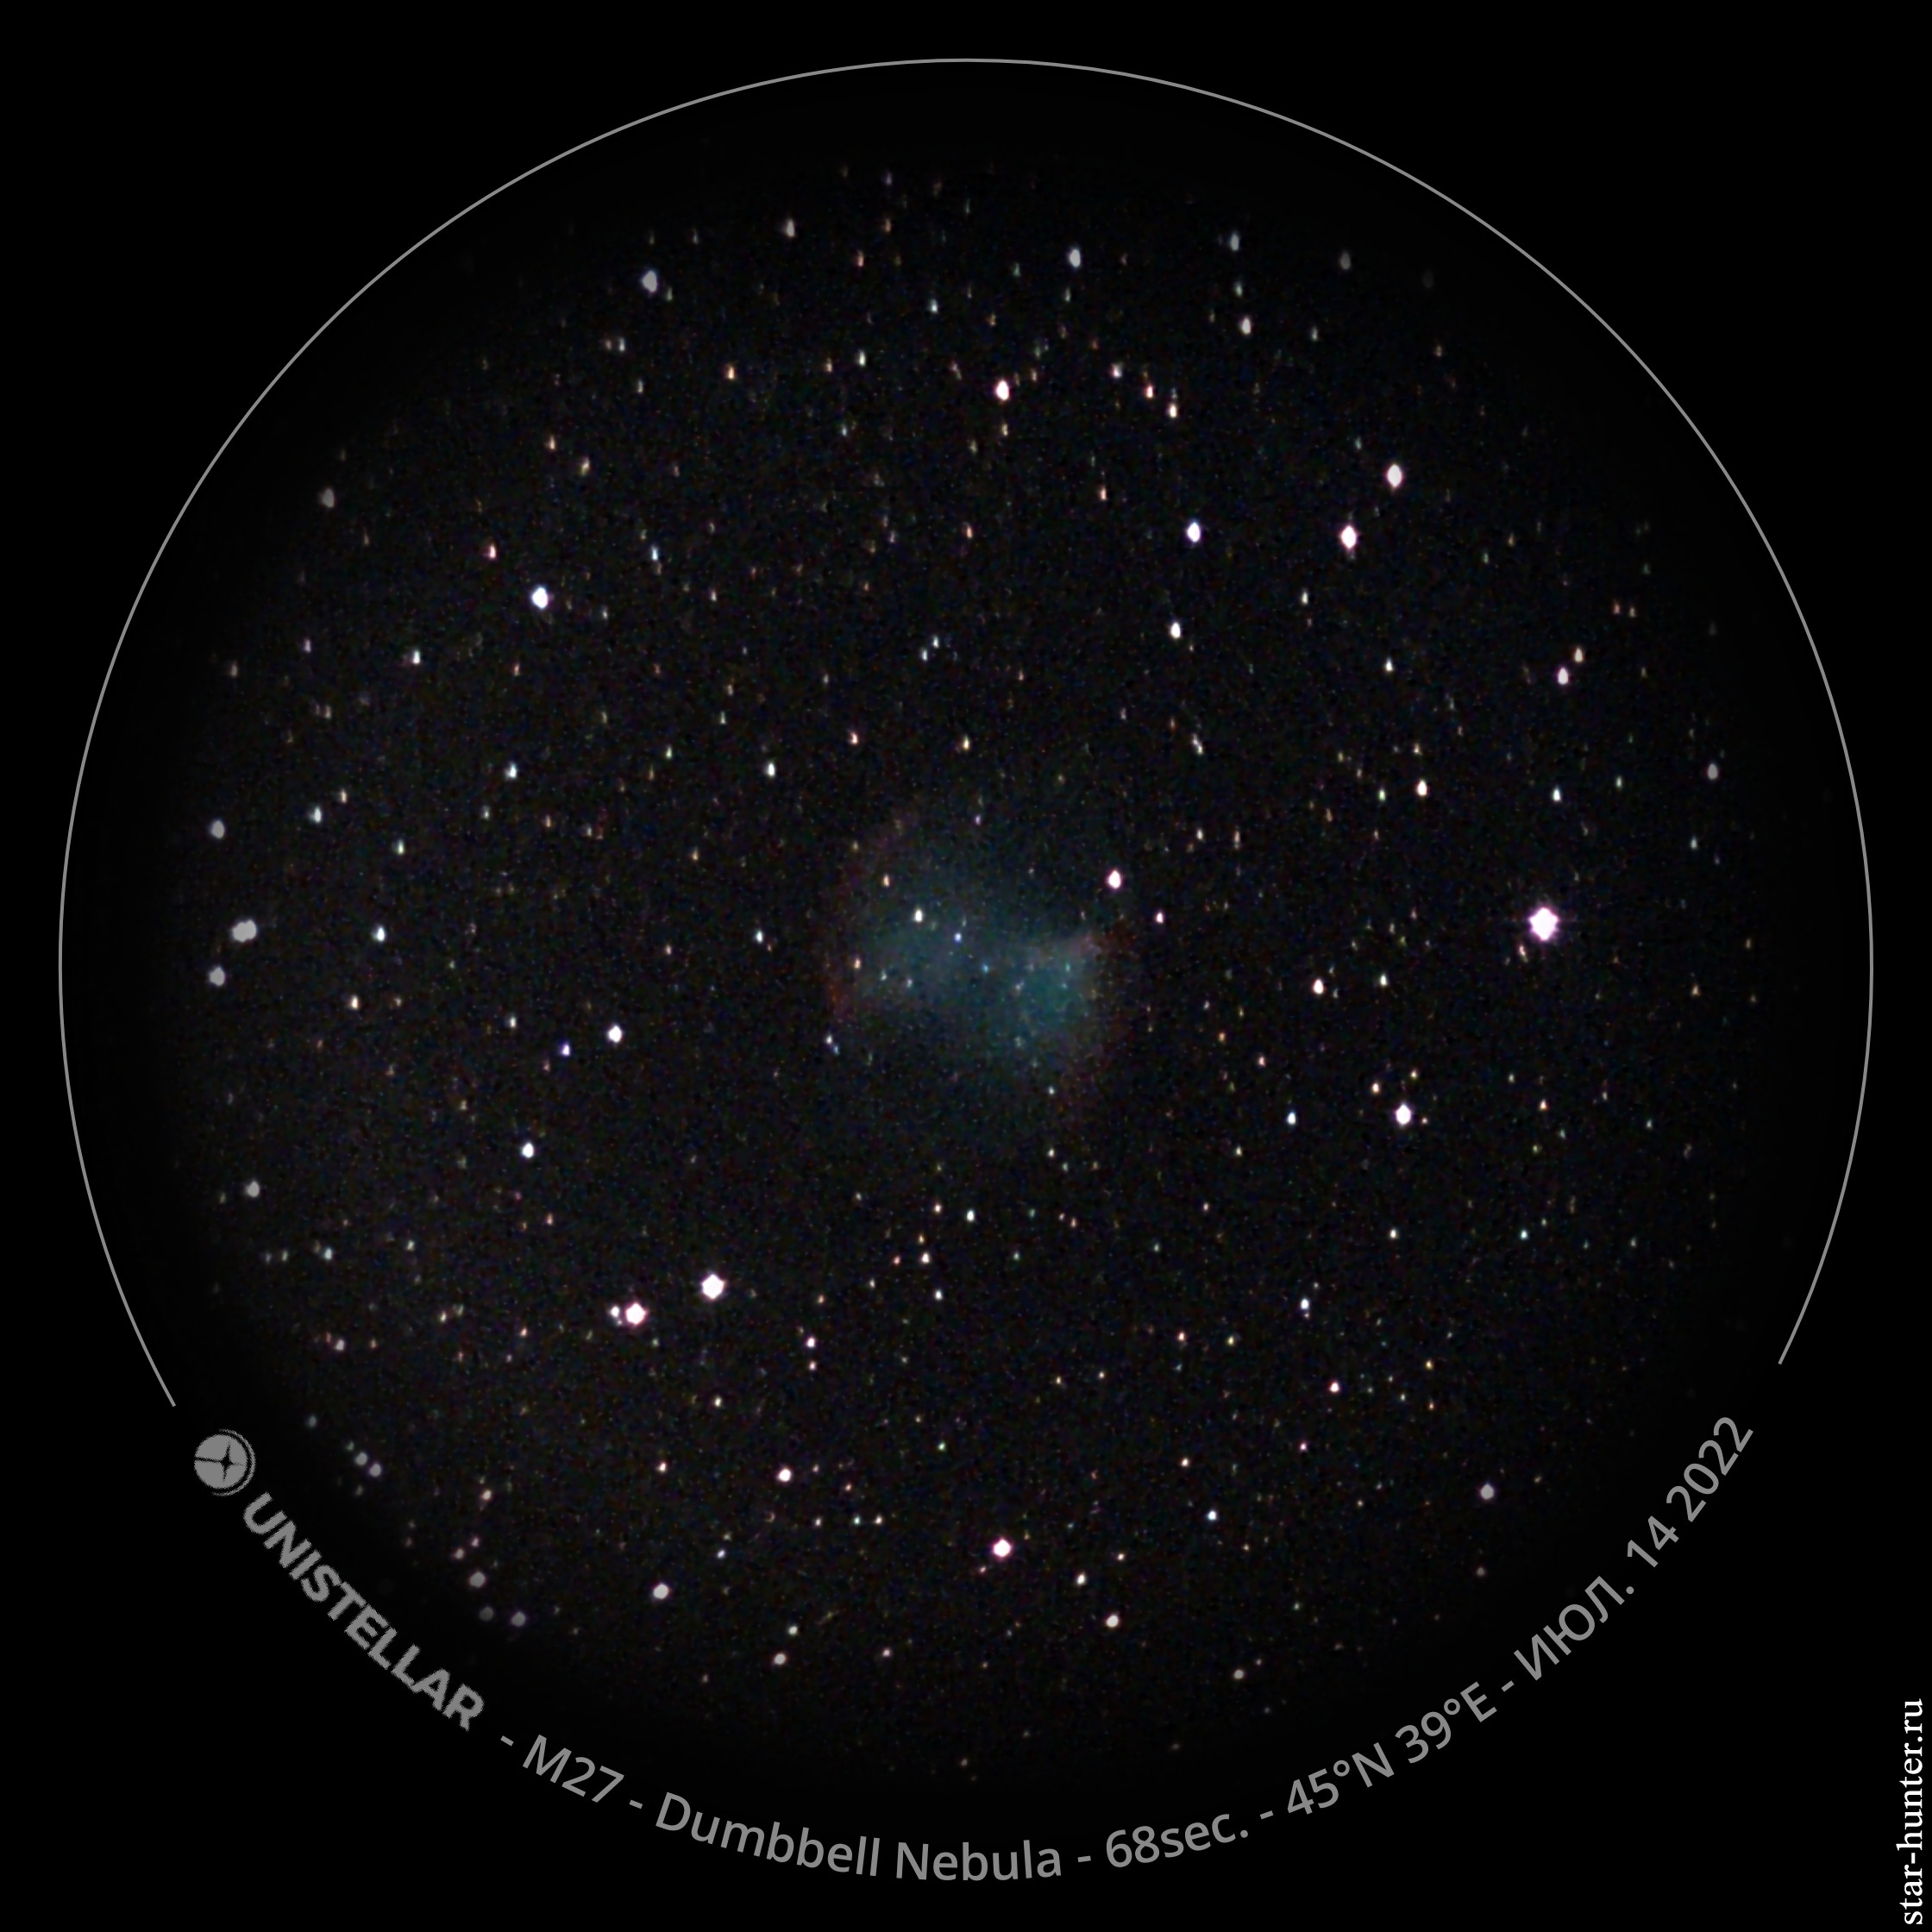
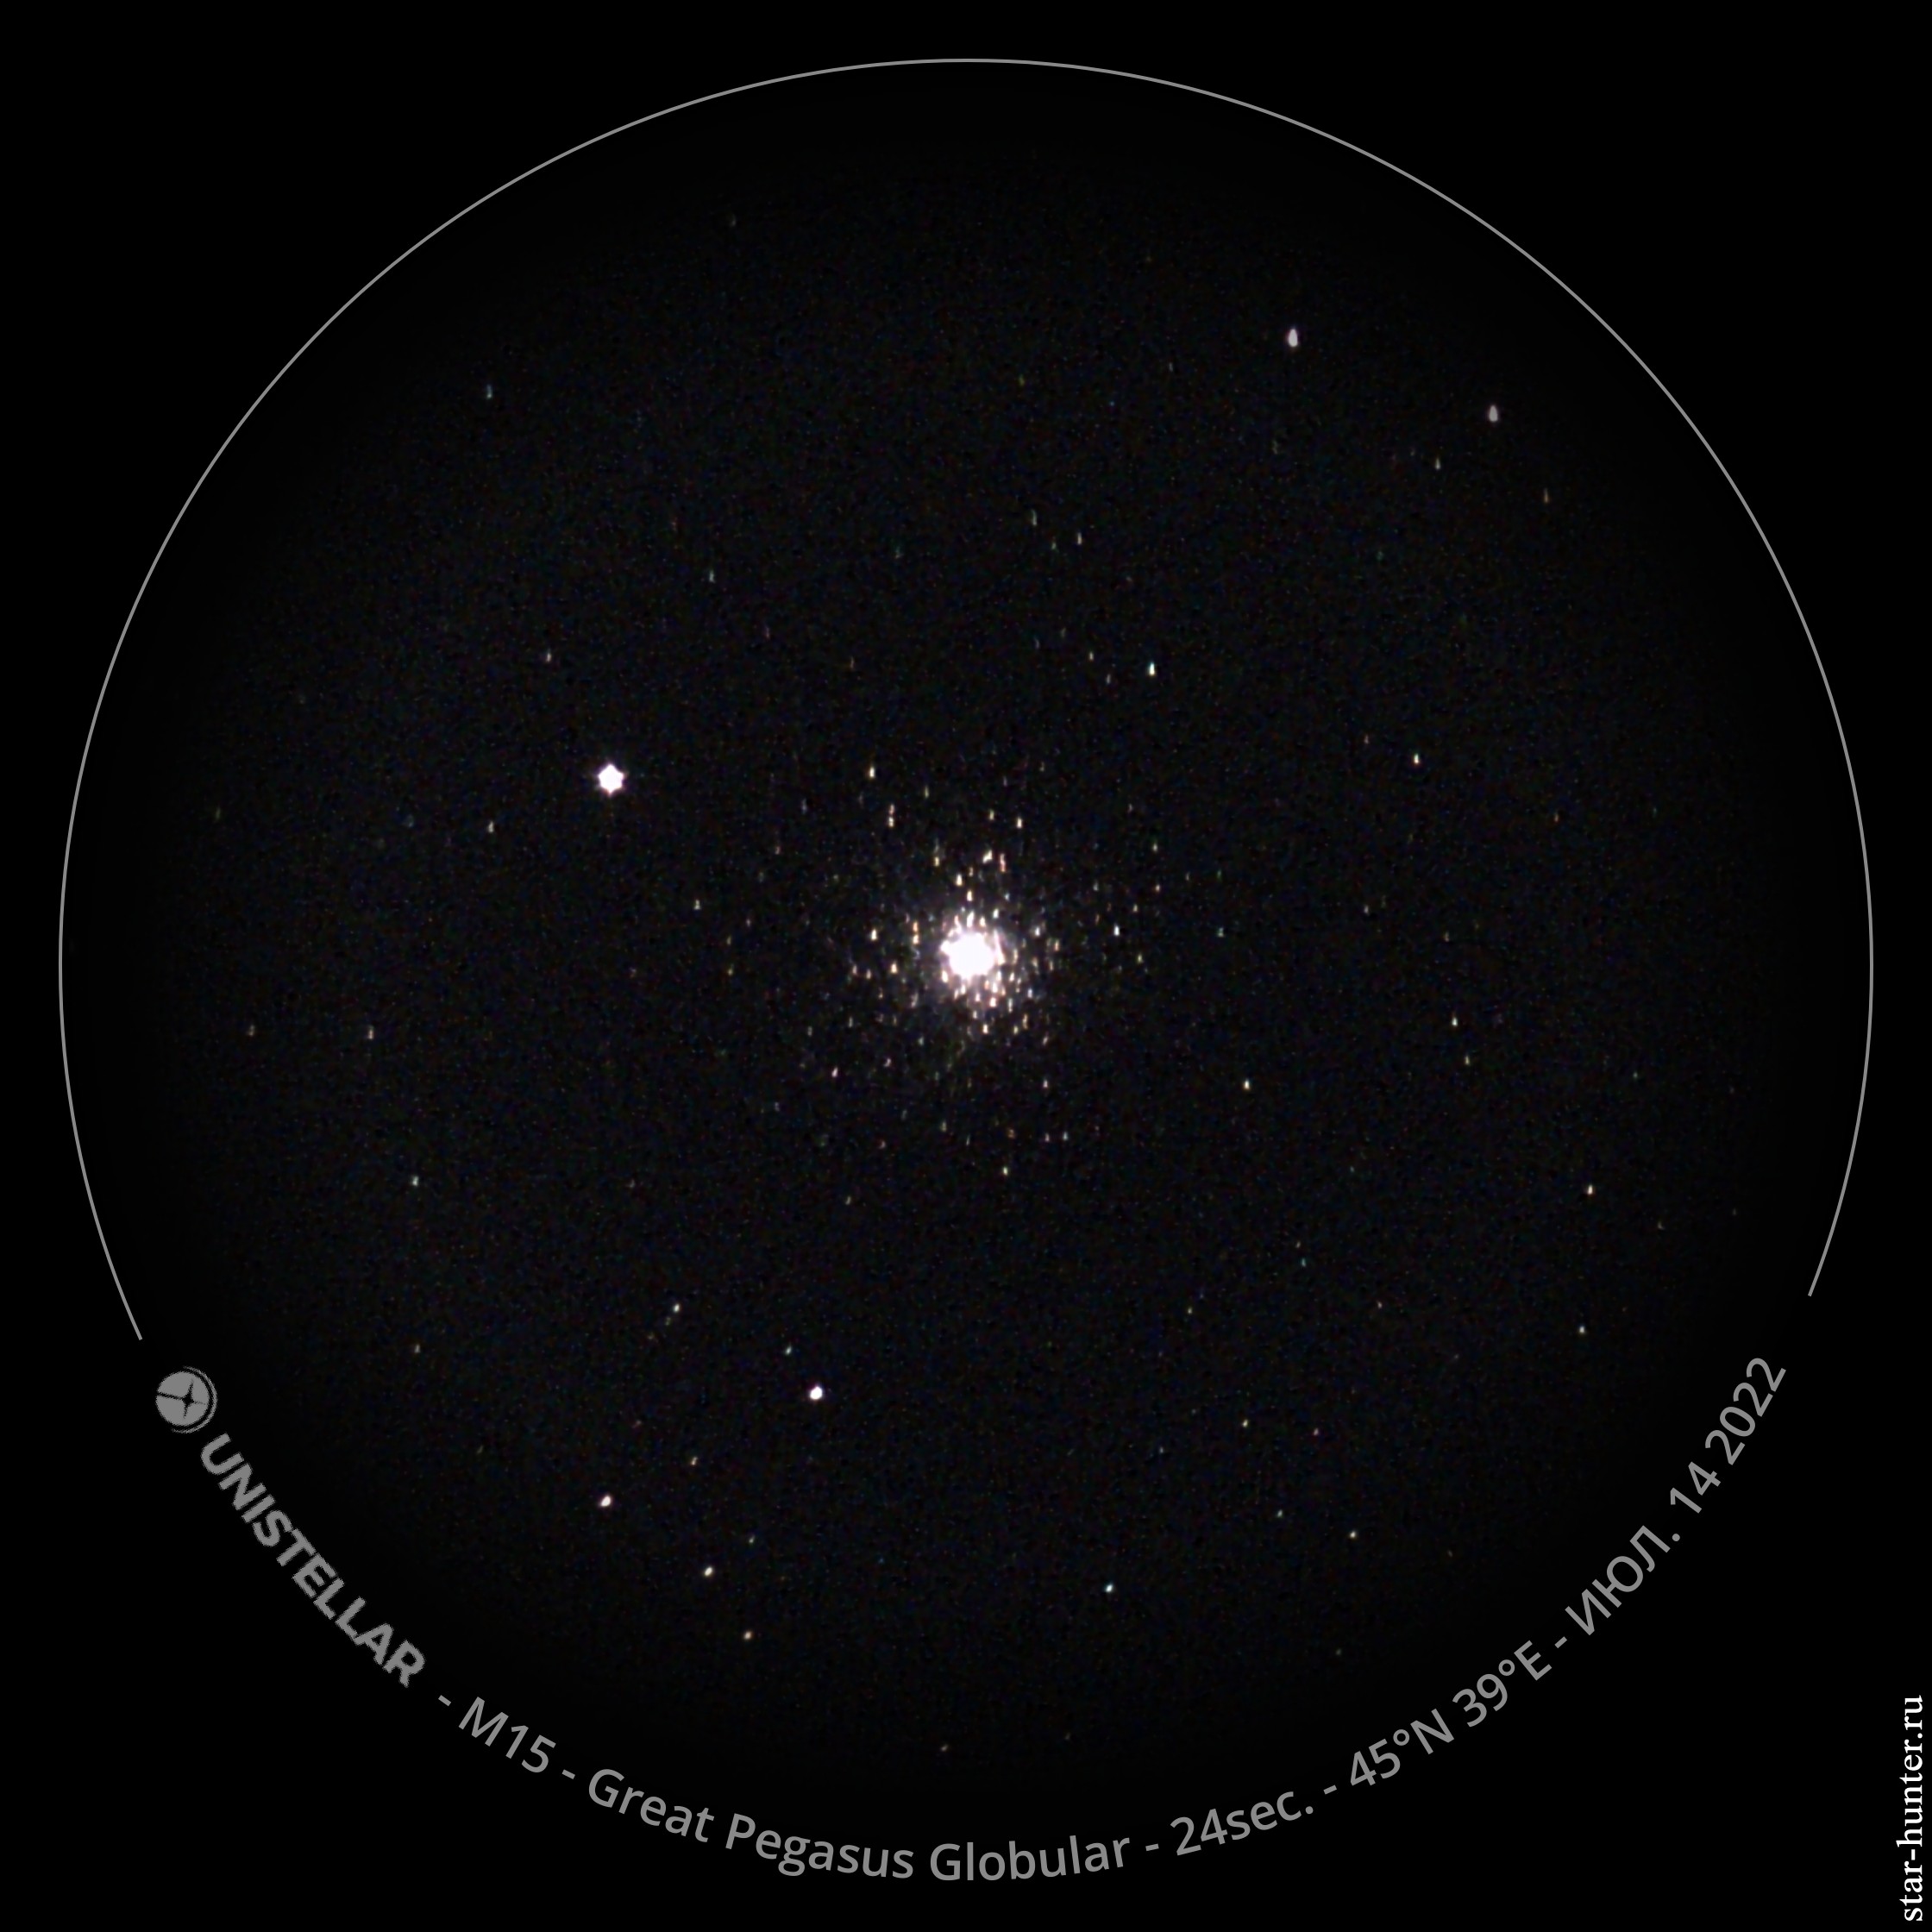
Further, two modes of observation are possible – in real time and in the Enhanced vision mode. In the first mode, the object is displayed live with a low frame rate. In the second mode, frames are shot with shutter speeds up to several seconds with automatic alignment and addition.
Below is an example of switching modes. The accumulation time is also displayed. This automatically adjusts the histogram to provide a dark background. You can save a snapshot at any time.
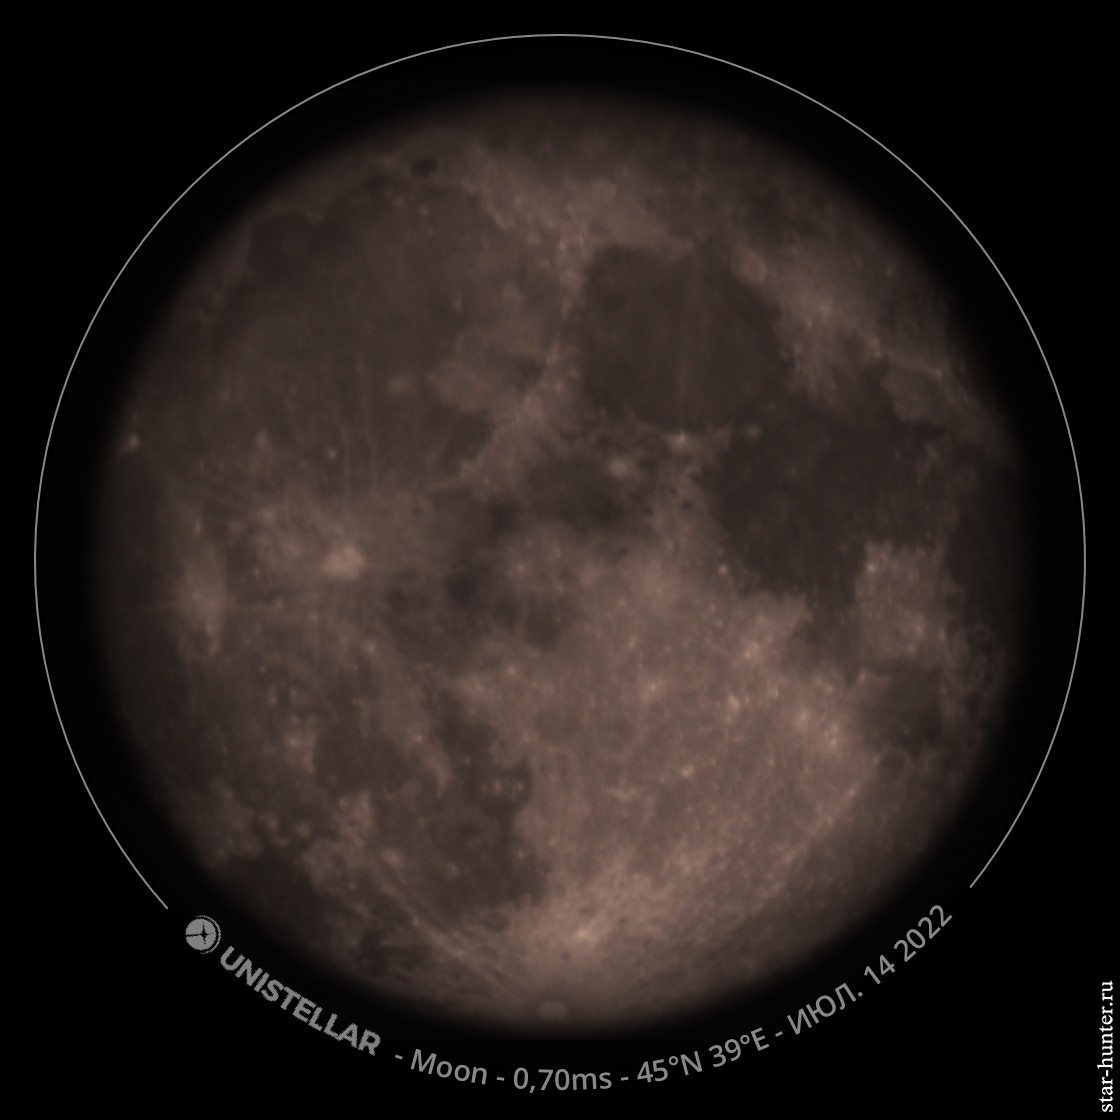
Пример теста по Луне. В настройках можно регулировать некоторые параметры.
А вот снимки сохраняются в интересном формате – как в полном разрешении, так и кружочке с названием объекта, координатами места наблюдения и датой. Чем-то похоже на окуляр, а также неплохой способ уменьшить кому 🙂 В определенных режимах картинка интерполируется до разрешения 4.9 Мп (2560 х 1920), при этом размер кадра растет, а детализация особо не улучшается. Формат файлов – PNG.


A few wishes and ideas for telescope developers
1) The built-in Optolong L-Pro filter or similar would be very useful for such a telescope.
2) I would redesign the main application menu a bit. The setup, in my opinion, should be even simpler, literally point by point like display a picture > make alignment > select an object.
3) Selecting an object from the list works, but your own planetarium with the ability to poke at an object on the map and point the telescope at it would still be clearer and more interesting.
4) A native application for Windows\Mac would also not hurt, although you can try to run the apk file through an Android emulator.
Summary
+ ease of setup and use
+ compactness
+ fast and accurate alignment
+ understandable instructions in Russian
+ the ability to connect multiple devices at the same time
+ the ability to calibrate with a dark frame
+ a stable tripod
+ your own social network, the ability to share data and conduct joint observations with observers from all over the globe
– no Russian language in the application
– not suitable for shooting planets
– high price.
Total: an unusual device that will definitely find its user. Yes, in terms of image quality, the device loses to astrograph telescopes with large sensors, a flat field and an equatorial mount, autoguide, long exposures and full calibration, and shooting planets with this telescope is difficult. In my opinion, Unistellar eVscope eQuinox will be especially in demand in educational institutions – schools, institutes, planetariums. The ability to show and photograph an object in just a couple of minutes after launching the device, ease of use and mobility – for certain tasks and for undemanding astrophotographers, Unistellar eVscope eQuinox will be the best choice. If you accumulate enough signal (at least 30 minutes), then you can get a fairly high-quality and low-noise image of celestial objects.
You can buy Unistellar eVscope eQuinox telescope HERE.
Реклама: ООО “МАРКЕТПЛЕЙС” ИНН: 9701048328
